How to build a Supabase admin panel with Airtable in 5 minutes

A super quick guide to spinning up an admin panel for Supabase.
- High-level overview
- Tech Stack
- Steps summarized
- How to build a Supabase admin panel
- 1) Export your table as a CSV from Supabase
- 2) Create a new Airtable base with AI and your CSV
- 3) Delete the data from Airtable so you have an empty base
- 4) Use Whalesync to 2-way sync Supabase and Airtable
- 5) Enjoy your Supabase admin panel 🎉

Matthew is the co-founder of Whalesync.
Supabase is an amazing database for building apps, but like any database, it’s useful to have a place where the team can edit it. Enter… admin panels!
In this quick guide, we’ll show you how to spin up an admin panel for your Supabase database in about 5 minutes. By the end, your team will have an easy to manage frontend where they can make edits and view charts. Even better, all of this requires absolutely zero coding 🤯.
High-level overview
Tech Stack
To build your Supabase admin panel, you only need three tools:
- Supabase
- Airtable
- Whalesync

We call this the SAW stack 🪚
Steps summarized
- Create an Airtable base that will become your admin panel
- Connect Airtable to Supabase with Whalesync
- Start using Airtable as your Supabase admin panel
How to build a Supabase admin panel
1) Export your table as a CSV from Supabase
We’re going to be using Airtable as our admin panel. Airtable is an unopinionated app, so we’ll need to give it some structure.
To do that, we’ll export a CSV of our Supabase table that we’ll later feed to Airtable.

2) Create a new Airtable base with AI and your CSV
Now that we have our CSV from Supabase, we need to create an Airtable base which will serve as our admin panel.
Start by going to Airtable and clicking “Create” and then “Build an app with AI”.
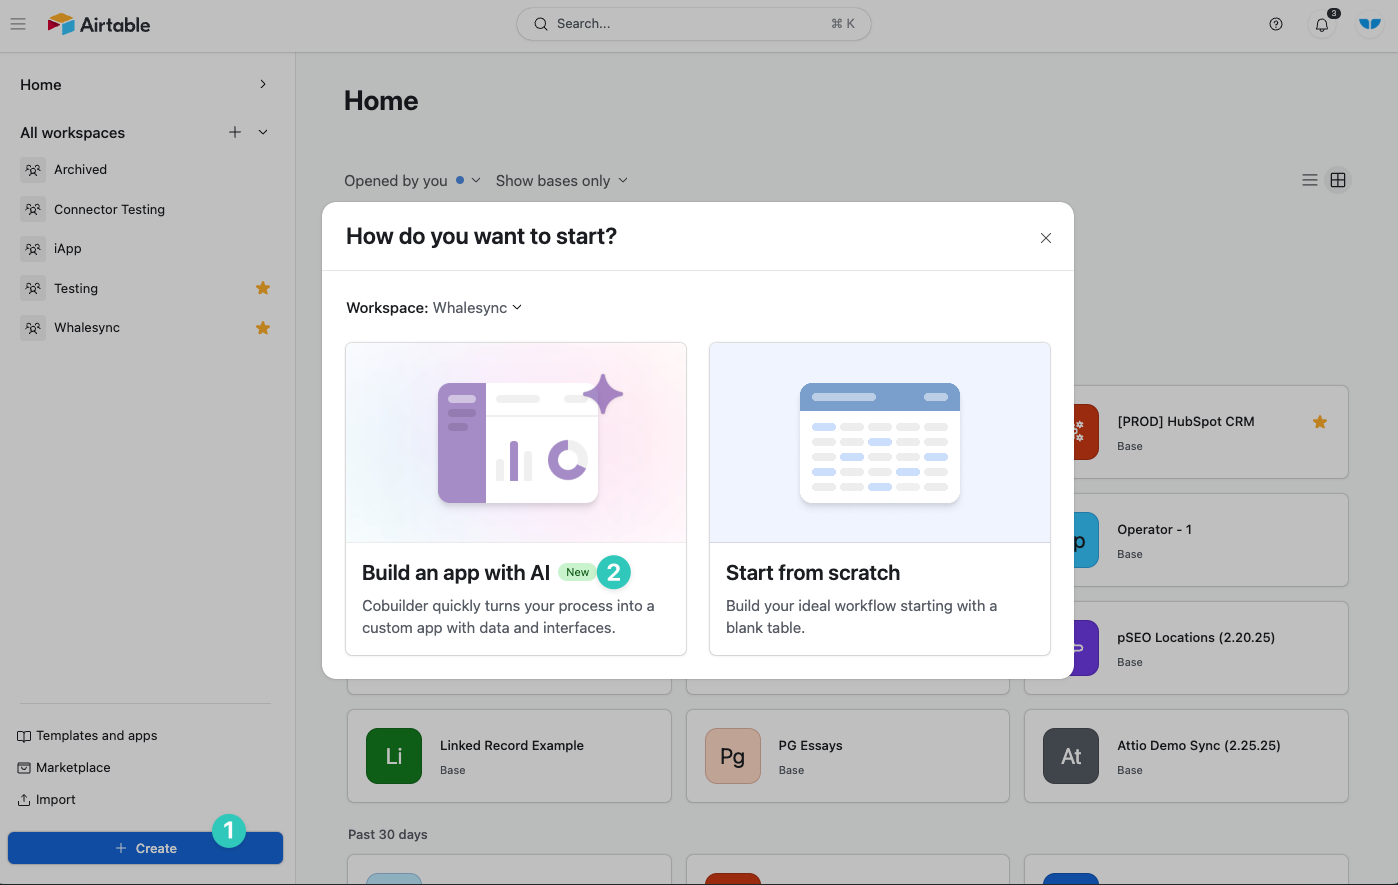
Note that Airtable free plans do not have access to their AI builder
Once in Airtable’s AI Cobuilder, tell Airtable you’re building an admin panel and upload your CSV.
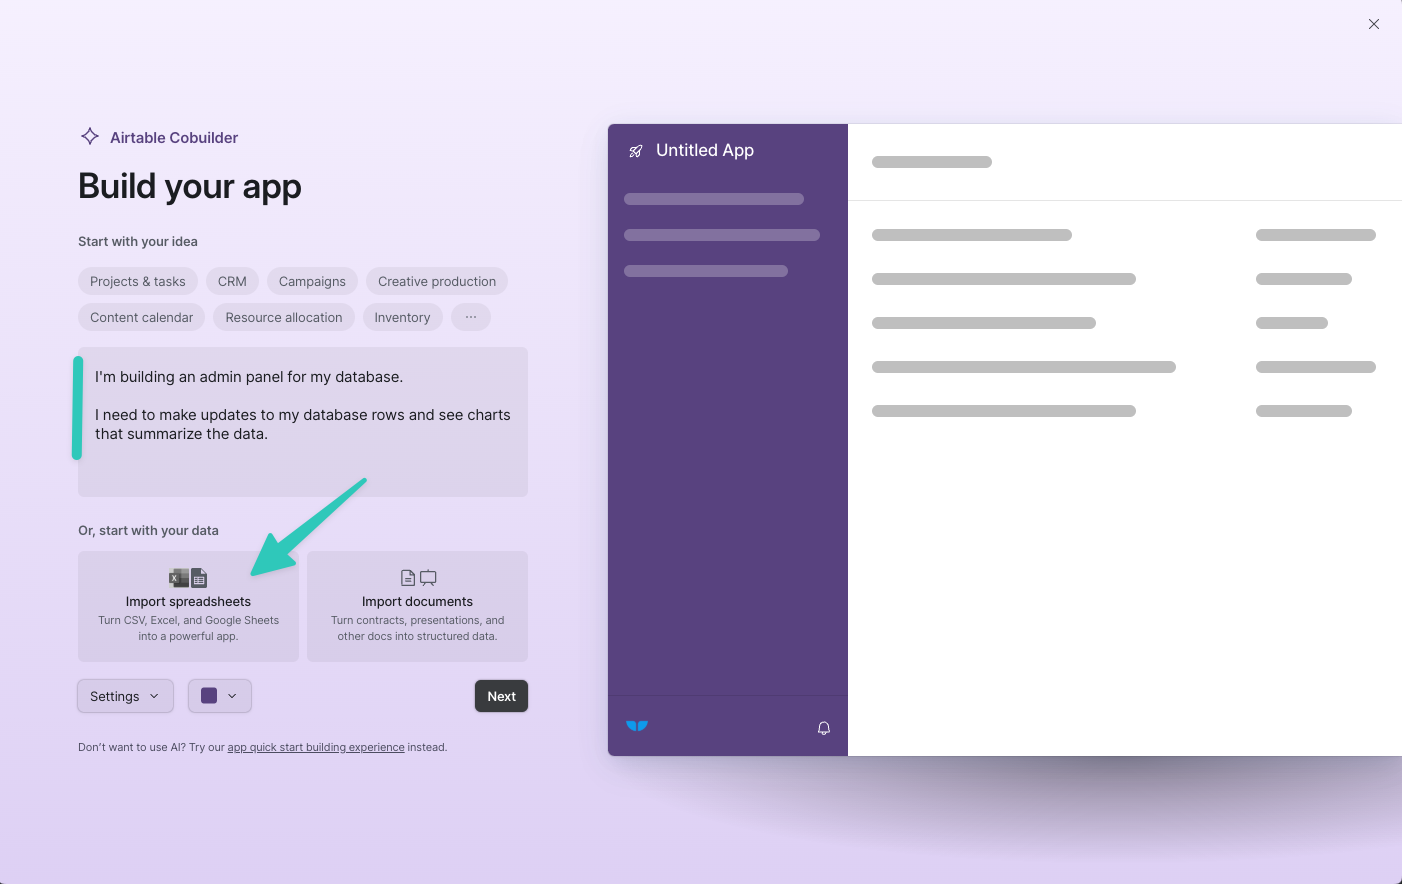
Airtable’s AI Cobuilder automatically creates an Airtable base from your specifications
3) Delete the data from Airtable so you have an empty base
Once Airtable creates your Airtable base for you, you can delete the records you uploaded from the CSV.

4) Use Whalesync to 2-way sync Supabase and Airtable
Let’s recap where we’re at so far.
- We have Supabase database with data
- We have an Airtable that matches our Supabase (but with no data)
Now we just need to connect the two so that Airtable can act as your admin panel for Supabase. To do that, we can use Whalesync.
First we’ll want to create a new Sync and connect Supabase and Airtable.

We’ll then map the fields in Supabase to the fields in Airtable that we want to connect as part of our admin panel.
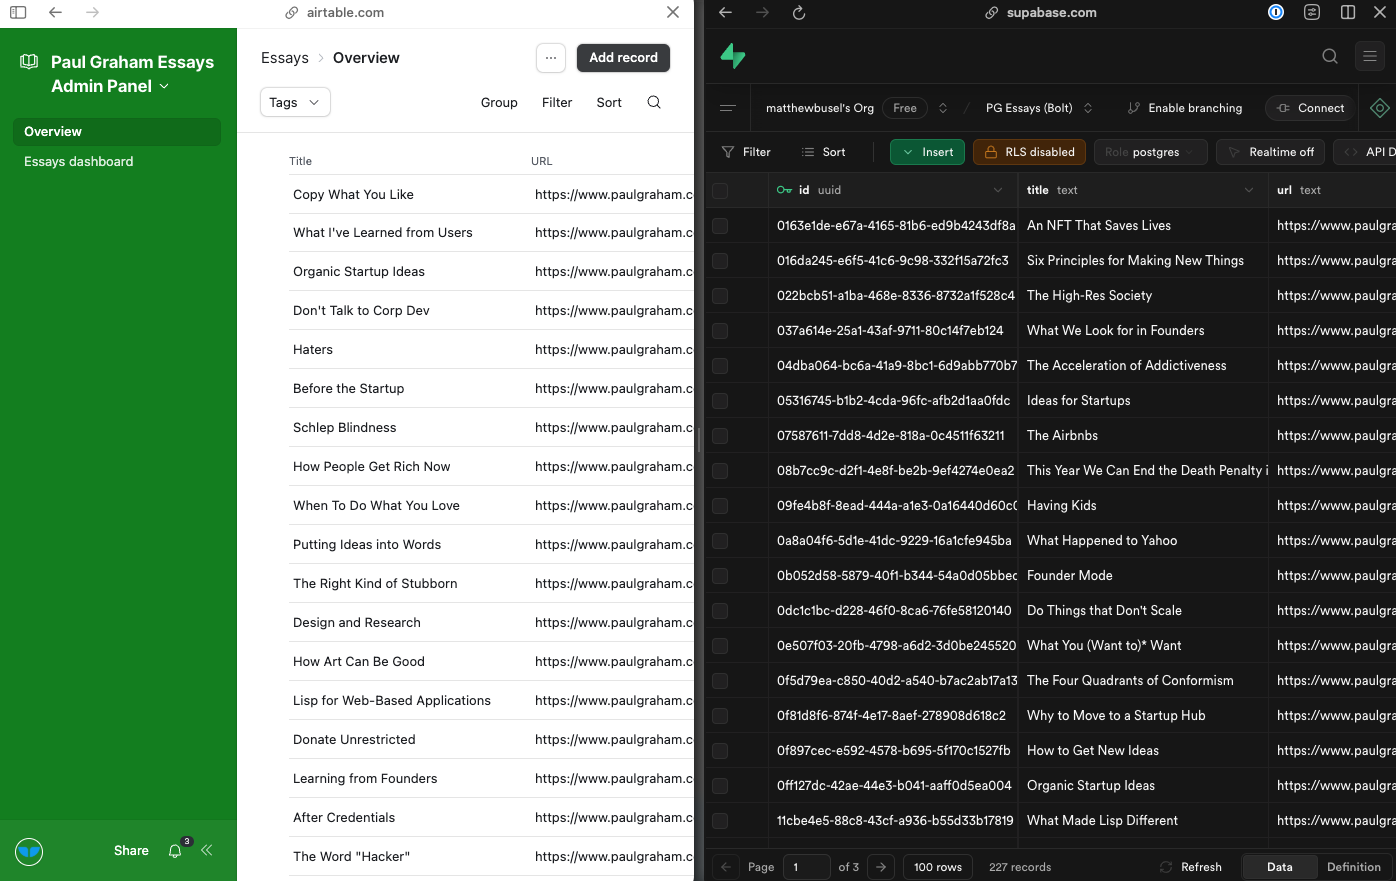
Whenever updates are made in Supabase they’ll sync to Airtable and vice-versa.

Once you activate your Sync, all your Supabase data will sync into Airtable.
5) Enjoy your Supabase admin panel 🎉
And that’s it! You now have a Supabase admin panel directly in Airtable!
In just a few minutes, you’ve built a fully customizable admin panel without writing a single line of code. Take a bow 🙇

Subscribe for more
Stay up to date with the latest no-code data news, strategies, and insights sent straight to your inbox!


.svg)


.svg)

