Building a No-Code Job Board? Start Here.
A starter guide to building your own no-code job board.
No-Code Job Boards
Building a job board practically feels like a rite of passage in the no-code community. Over the last few years It's become one of the more popular projects because:
- it's relatively straightforward to build with available no-code tools
- you can quickly provide value by serving a unique niche
If you're reading this, I'll assume you've already decided you want to build a no-code job board and now you're thinking about the best way to make it happen.
This is an overview of how to build a job board specifically with Airtable and Webflow. There are tons of great guides out there already (which I'll link to below), so I won't rehash what's already been said. Instead, use this article to get a birds-eye view of your upcoming project and as a jumping off point to all the resources you'll need.
Every resource mentioned below is something I've personally found helpful as co-founder of Whalesync (a no-code data tool) or previously in building a job board called Break Into Product.
Why Airtable and Webflow
Just like in traditional software development, there's often many different ways you can accomplish a goal with no-code. Choosing the right tools for your build will largely depend on what matters to you. If your goal is to get a job board live ASAP, your best bet is likely an "all-in-one" tool like Job Board Fire.
If instead you want full control over the look and feel of your job board then you can't go wrong with Airtable x Webflow. They're really powerful pieces of software with relatively gentle learning curves. If you're still on the fence, take a look at this article which does a great job laying out the pros and cons of each stack.
TLDR - How to Build a No-Code Job Board
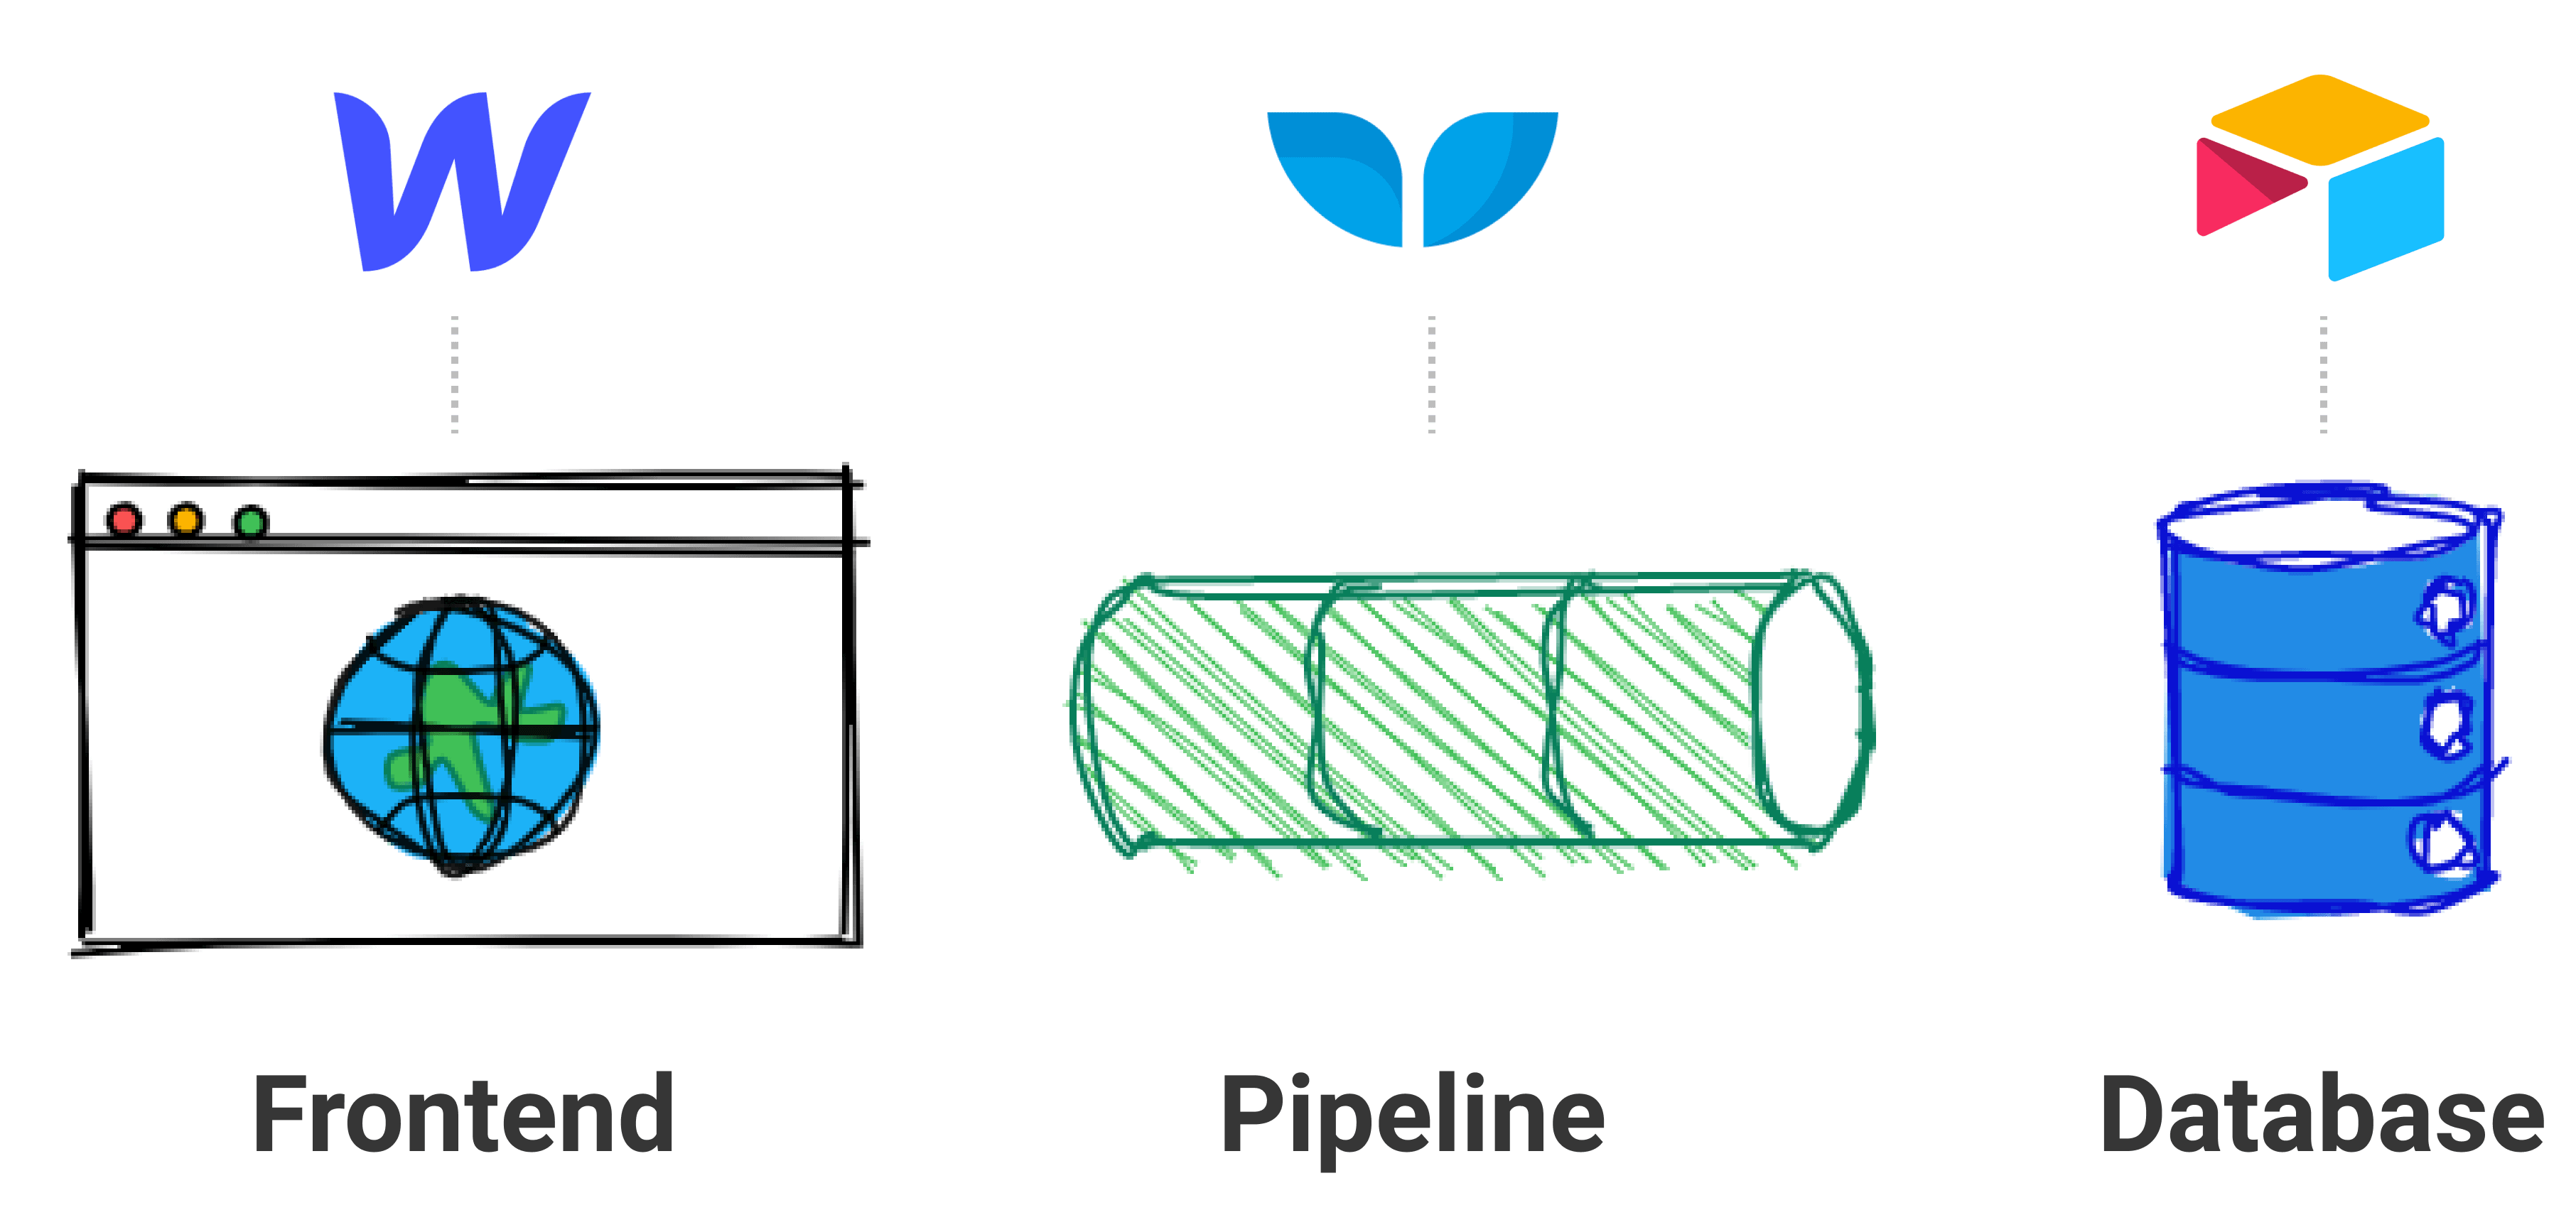
Here's the birds-eye view:
- Pick a niche
- Create an Airtable Base
- Populate it with jobs
- Choose a Webflow template
- Match your Webflow CMS to your Airtable Base
- Sync jobs from Airtable → Webflow
- Celebrate!
End Result
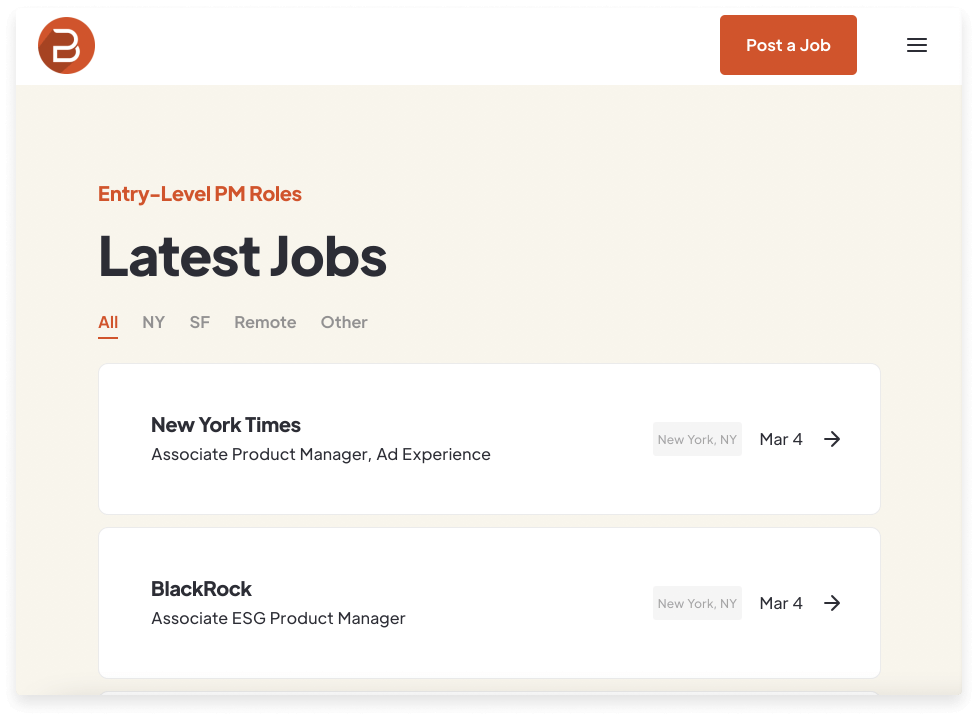
Before jumping in, I wanted to show off a few job boards that have been built with Airtable and Webflow. Hopefully you'll notice they all look very different. That's part of the beauty of this approach!
7 Steps to Build a No-Code Job Board
1) Pick a niche
You're likely not going to want to compete with the Indeed's and LinkedIn's of the world on day one. Instead, choose a niche that you understand well and feel is currently underserved. For example, "crypto in SE Asia" or "junior-level product management".
2) Create an Airtable Base
Once you've settled on your niche, it's time to start building. First let's create the backend of your job board using Airtable as a database. This Airtable Base will house all the information about each of the job postings you'll eventually list.
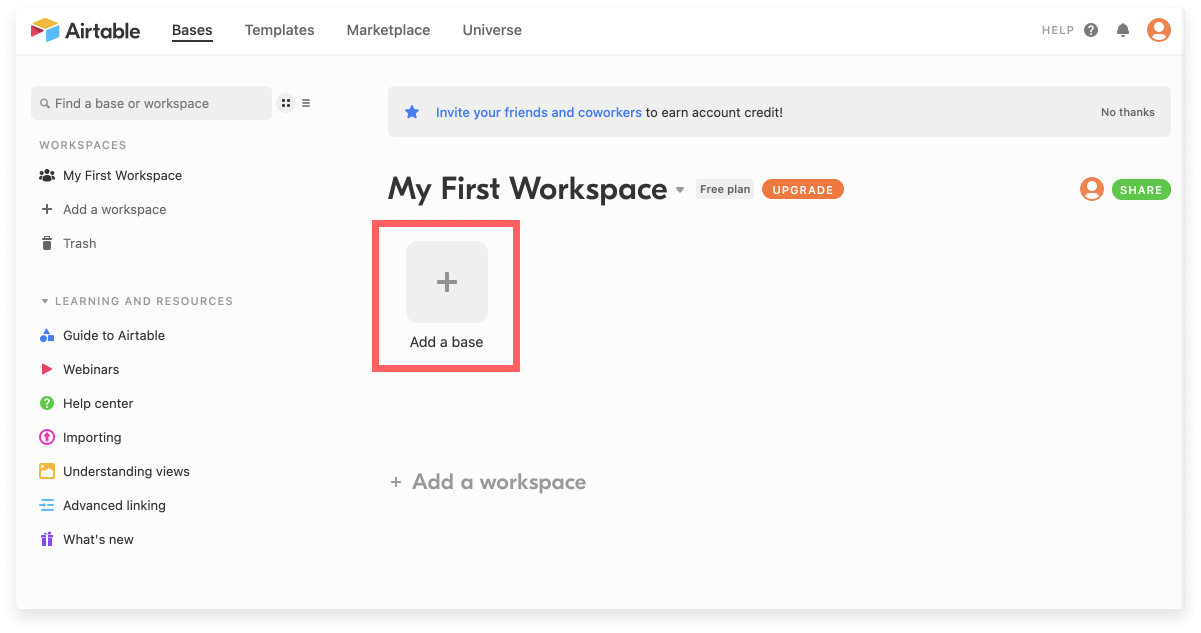
First, for housekeeping purposes, let's rename the Table in your Airtable Base something along the lines of "Job Postings". Once you've renamed your table, you'll need to add fields that give detail to each of your job posts. Which details are necessary for your site is up to you, but some of the more common fields include:
- Company
- Position
- Location
- Date Posted
See our Airtable Job Board template for a more comprehensive list.
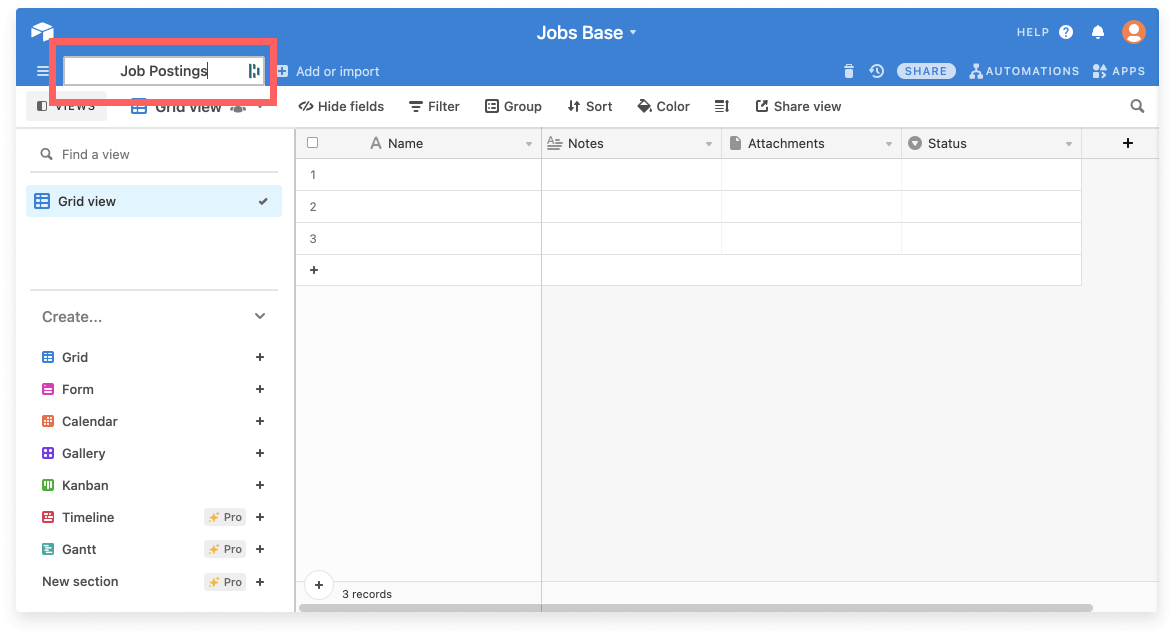
In summary:
- Go to Airtable.com
- Add a base
- Rename the table
- Add all the necessary fields
3) Populate with jobs
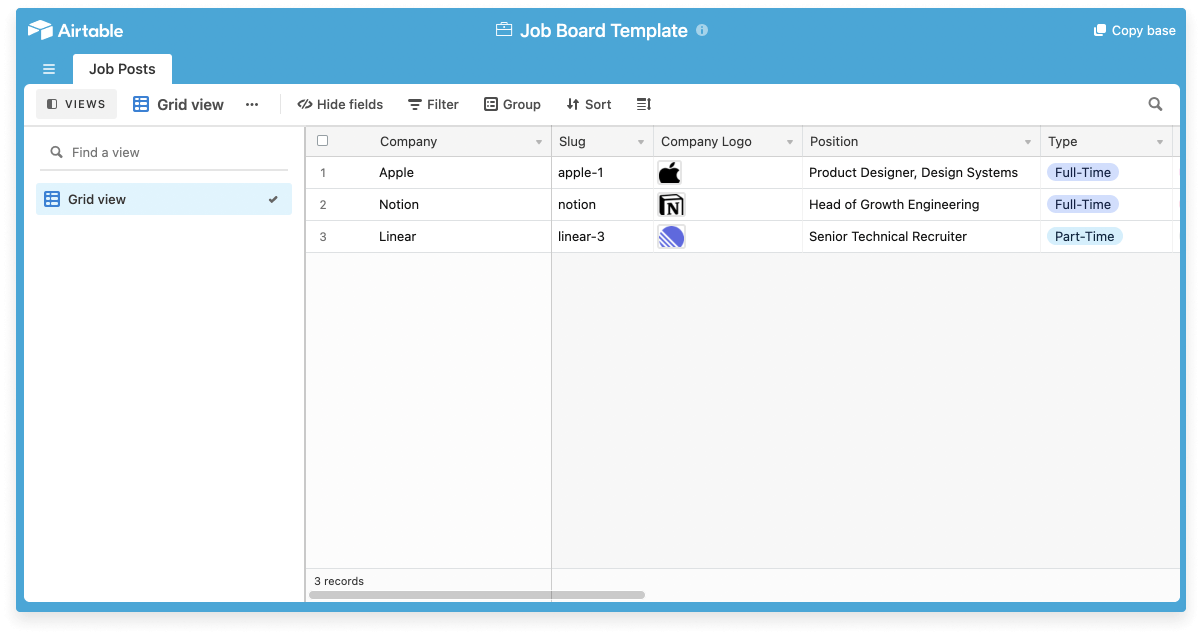
Now that you have your Airtable Base set up, it's time to populate with job postings. Later we can automate this, but for now, decide which sources you want to rely on and start copying your data into Airtable.
For example, with Break Into Product I found entry-level PM jobs on LinkedIn each day by searching for keywords like "associate product manager". I'd then copy and paste the relevant info into my Airtable Base.
When you're done it should look something like this, but with more than three postings:
4) Choose a Webflow template
Now that your backend is set up, let's handle the frontend. Webflow lets you design beautiful websites without code. You can of course start from scratch, but a quick way to make a great looking site is to start with a template.
Webflow has tons of templates including a few that were specifically made for job boards. One of my favorites is Job Board X, but I've also added a list of others to the bottom of this article.
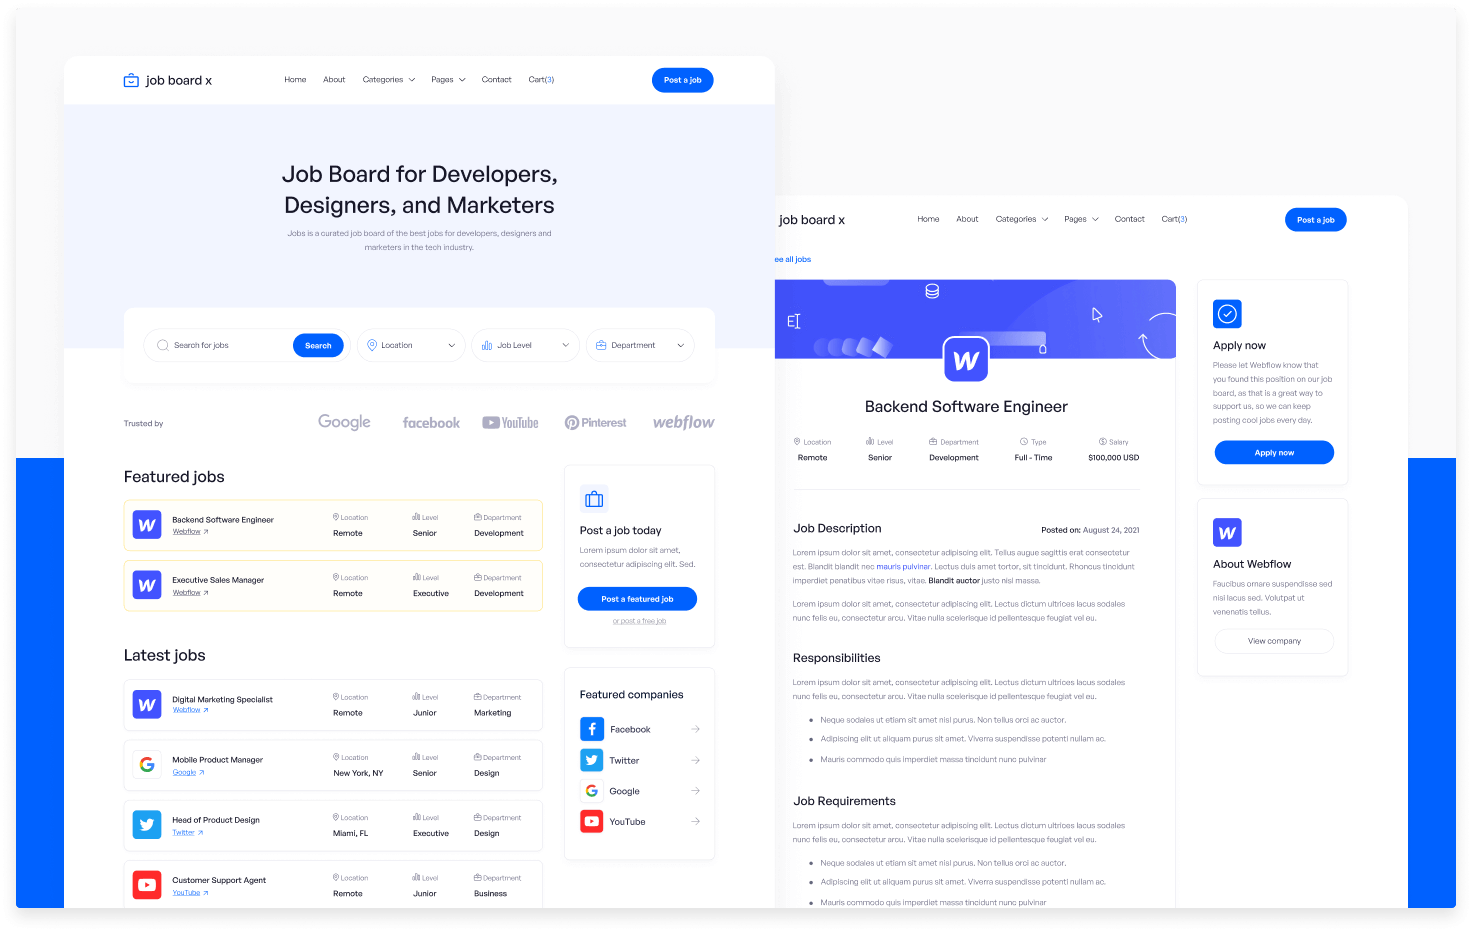
Duplicate one of these templates and start to customize. Plug in your logo, add/remove pages, adjust the color scheme, etc. If you need a primer on Webflow, check out their 101 Crash Course as part of Webflow University.
5) Match your Webflow CMS to your Airtable Base
In Step 2 we created an Airtable Base with a Table called "Job Postings". Now we're going to prepare an equivalent table in Webflow using their CMS.
If you're not familiar with the Webflow CMS they have a course on that as well, but essentially it's just a place to store data that you'll use to populate your site. A Webflow Collection is equivalent to a Table in Airtable.
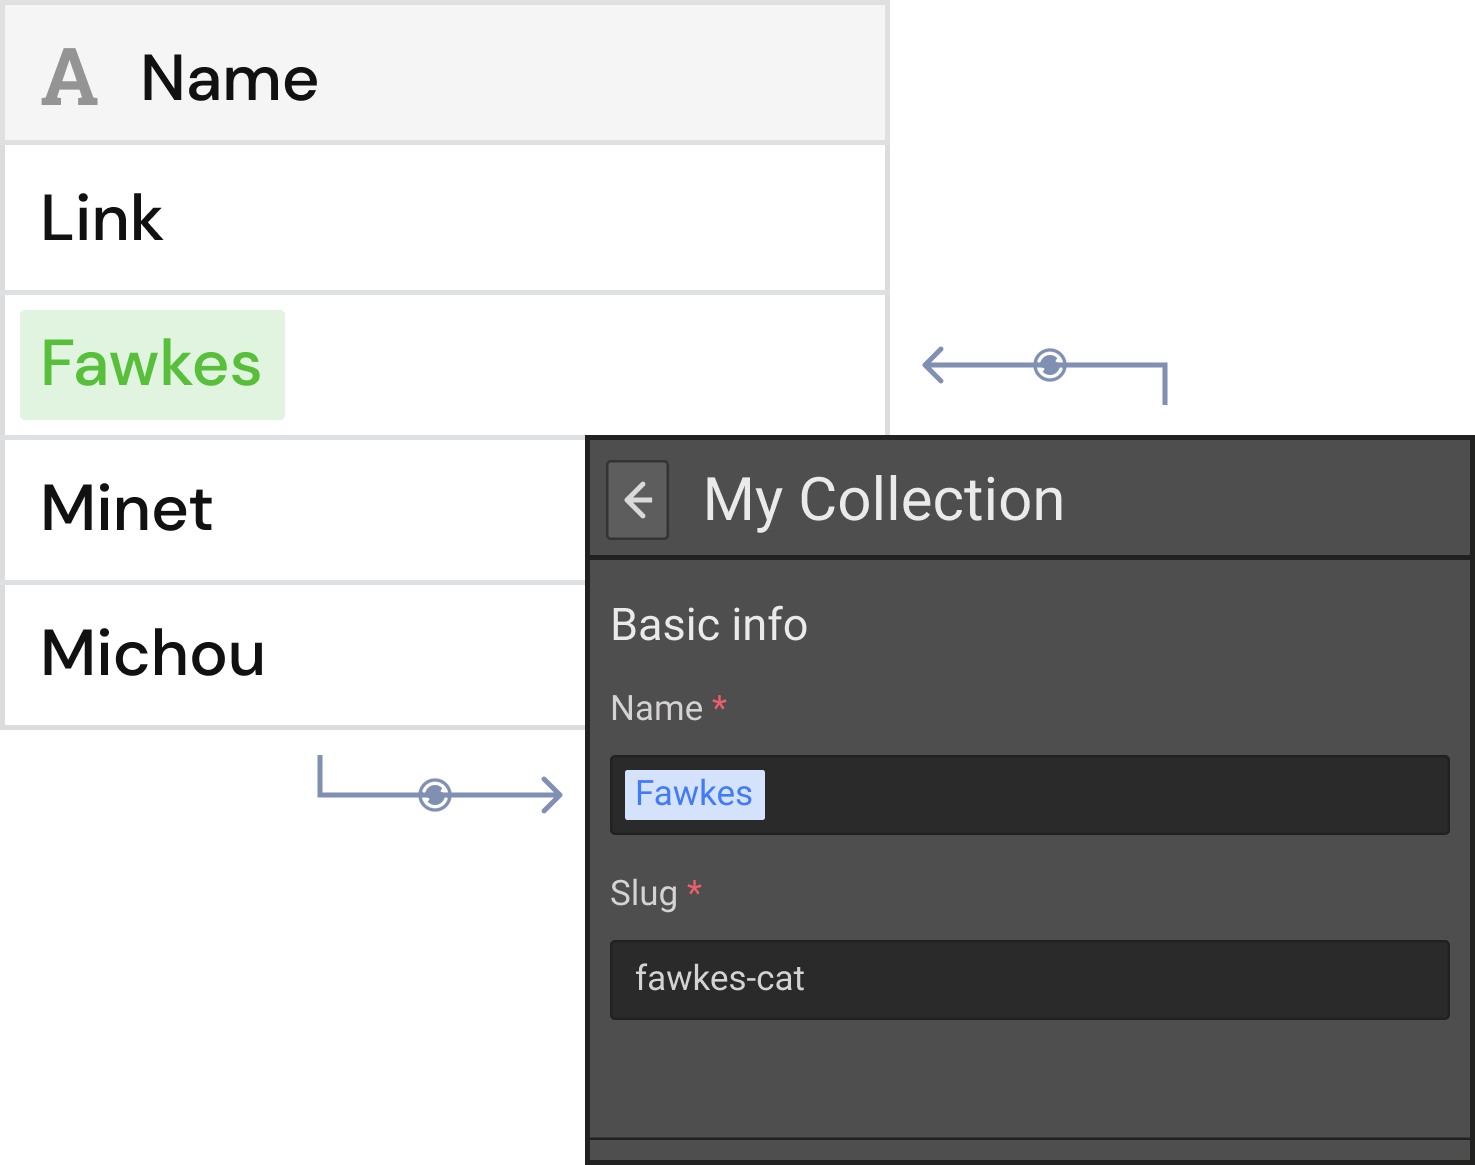
Each of the above Webflow templates should come with CMS Collections pre-created, but if you're not using a template you'll need to create a Collection yourself. Similar to your Airtable Table, call this Collection "Job Postings".
The fields in your "Job Postings" Collection (Webflow) will need to match the fields in your "Job Postings" Table (Airtable) exactly. Take the time now to create a field in your Collection for every field you have in Airtable. For example, if you have a Single Select field in Airtable called "Department" you will need to create an Option field in Webflow (preferably also called "Department"). Double-check that every option matches exactly - if you write "customer support" in Airtable and "customer service" in Webflow that will cause problems.
6) Sync Airtable to Webflow
You're almost there! At this point you've set up a database of job postings in Airtable and a beautiful frontend to display those jobs in Webflow. Now all that's left is syncing data from one to the other.
We're biased, but we think the best way to do this is with Whalesync! Whalesync makes it easy to instantly sync data across no-code tools - especially Airtable and Webflow.
In Whalesync simply map each of the fields in your Airtable to their corresponding field in Webflow and turn sync on. Now any time you add a job posting to Airtable it will automatically sync to Webflow.
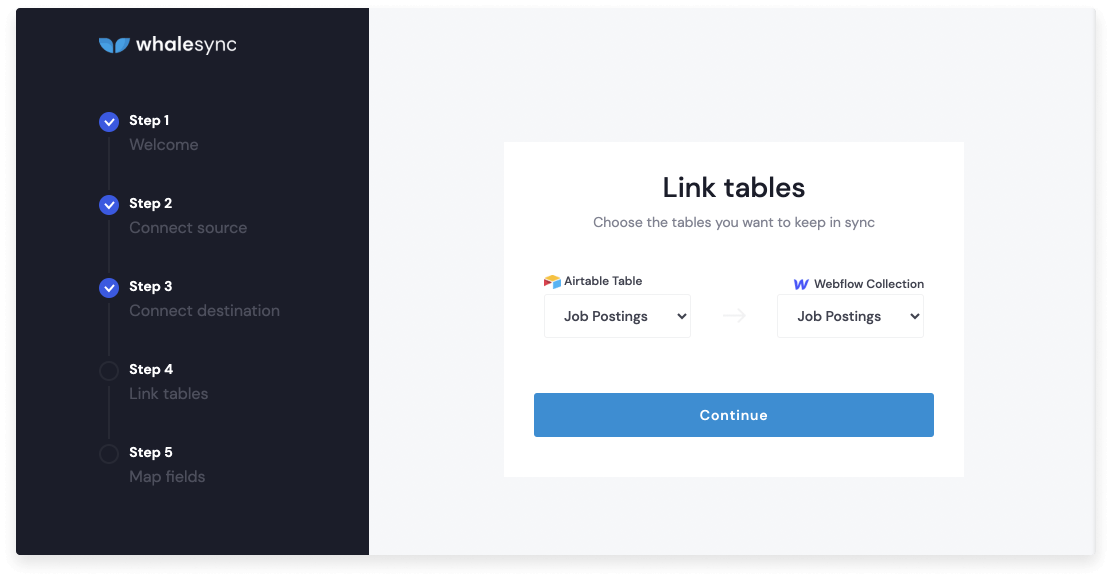
If you're not using a syncing tool like Whalesync, you can also accomplish this with an automation tool like Zapier. That being said adding things like multi-reference fields might be a bit painful 😜.
7) Celebrate! 🎉
That's it! Not too bad right?
Although this is just an overview to paint the broad picture, the details are pretty straightforward. For those that are ready for that next step, I've included a list of resources and in-depth guides below from some of the best minds in no-code.
Good luck! If you have any questions feel free to reach out at matthew@whalesync.com.
For a quick overview of how to set up Whalesync specifically, check out our video guide:
Resources
Specific Details on Building a No-Code Job Board
- MakerPad - How to build and automate a job board with Webflow and Airtable
- NoCodeMBA - Build a job board site like Indeed in Webflow
- AATT - No code job board with Webflow, Airtable, and Zapier
High-Level Guides on Building, Launching, and Growing
- How to create (and grow) a job board using Webflow
- How I launched a marketing job board in just three weeks
Webflow Templates for Job Boards
Tools Mentioned in this Article
Subscribe for more
Stay up to date with the latest no-code data news, strategies, and insights sent straight to your inbox!




.svg)


.svg)


