Using Airtable as a CMS

How we use Airtable as our content management system (CMS) at Whalesync.

Airtable is one of the most versatile pieces of software available today. On their site, they offer over 20 categories of templates alone ranging from Marketing to HR and Real Estate.
While most turn to Airtable to plan and organize their work, it's also an extremely viable option to manage data and content. At Whalesync, we've been using Airtable as a headless CMS to manage our blog content with fantastic results.
In this post we'll explain what a headless CMS is, why it's helpful, and how we've used Airtable as a CMS at Whalesync.
Airtable Headless CMS
What is a headless CMS
If you run a blog, you're generating content (i.e. blog posts). Every post you write is composed of data like the text, author, cover image, etc. All that data needs to be stored somewhere which is where content management systems or CMS's come into play.
As defined by Optimizely, a CMS is an application that's used to manage content. It allows multiple contributors to create, edit, and publish. Content in a CMS is typically stored in a database and displayed in a frontend layer like a website.
If you've used Squarespace, Wix, or Wordpress, you've probably at least seen a CMS. Each of these no-code website builders have CMS functionality built-in to make it easier to manage a blog.
A "headless CMS" setup is simply when the backend content management is handled in a separate tool from the frontend display. In a headless system, you design the look of your blog pages in one place and enter the data in another.
Why a headless CMS is valuable
Decoupled architecture, where you split the frontend and the backend, has recently gained in popularity. What's nice about headless is that you cleanly divide the work of preparing content. It's easier to only think about the design of the page and then only think about the content (or vice versa) as opposed to considering all at once.
By leveraging a headless CMS, you also gain the flexibility to use the best tool for the job. If you like using Airtable to manage data and Webflow to design pages you can! If later you decide you want to switch from Webflow to Wordpress, you can do that too since your data is stored on its own.
Aside from using Airtable as a CMS, some popular headless CMS options include Contentful, Sanity, and Ghost.
Why you should use Airtable as a CMS
Airtable won't work for every use case. Certainly if you're serving a blog to millions of readers, you might want something more powerful. But, if your goal is to spin up a blog quickly without involving developers, then Airtable is an amazing choice.
If you haven't used Airtable, it has a familiar "spreadsheet-like" UI that makes it effortless to learn. Unlike traditional databases, it's easy to edit columns and add fields, so you can customize your base however you need. You can also make edits across many rows at once in case you want to make a mass update.
Another benefit of Airtable is that it plays nicely with other apps - hence its utility as a headless CMS. If you're a developer, every Airtable base comes with its own API endpoint as well as custom API documentation for the base. If you're a no-coder like me, you can connect Airtable to a frontend with tools like Whalesync.
As an added bonus, Airtable has a number of content calendar templates. If you use Airtable as a CMS in conjunction with these calendars, you can create an end-to-end content pipeline with ease.
Key Benefits
- 💨 Lightweight
- 📝 Easy to edit
- 🔗 Connects to other tools
Using Webflow with a headless CMS
This post is mostly about Airtable, so I won't spend too much time on Webflow other than to say it pairs nicely with a headless CMS.
Webflow is arguably the best no-code website builder with almost unlimited flexibility for designing a frontend. That being said, their native CMS is somewhat limited, so it can often be better to use a headless CMS and connect the two. We also edit that content with AI and review every change as a diff before it publishes using Scratch.
At Whalesync, we're using Webflow to generate this very blog page while we have the data for the post stored in Airtable.
This gives us total flexibility in designing the page while allowing us to manage our post's data in Airtable's familiar spreadsheet UI.
After all, Airtable is quite similar (and different) to Google Sheets.
How Whalesync uses Airtable as a headless CMS
At Whalesync, we've built a lightweight no-code stack for managing our blog. We use Airtable as our headless CMS, Webflow to display our blog posts, and our own product (Whalesync) to connect the two.
As a bit of a meta example, here's the step-by-step guide of how we set up our stack to serve this very post.
Step-by-step guide
1. Create an Airtable account and add a base
This first step is fairly self-explanatory. Go to airtable.com, sign up, and then click "Add a base" to create your first database.
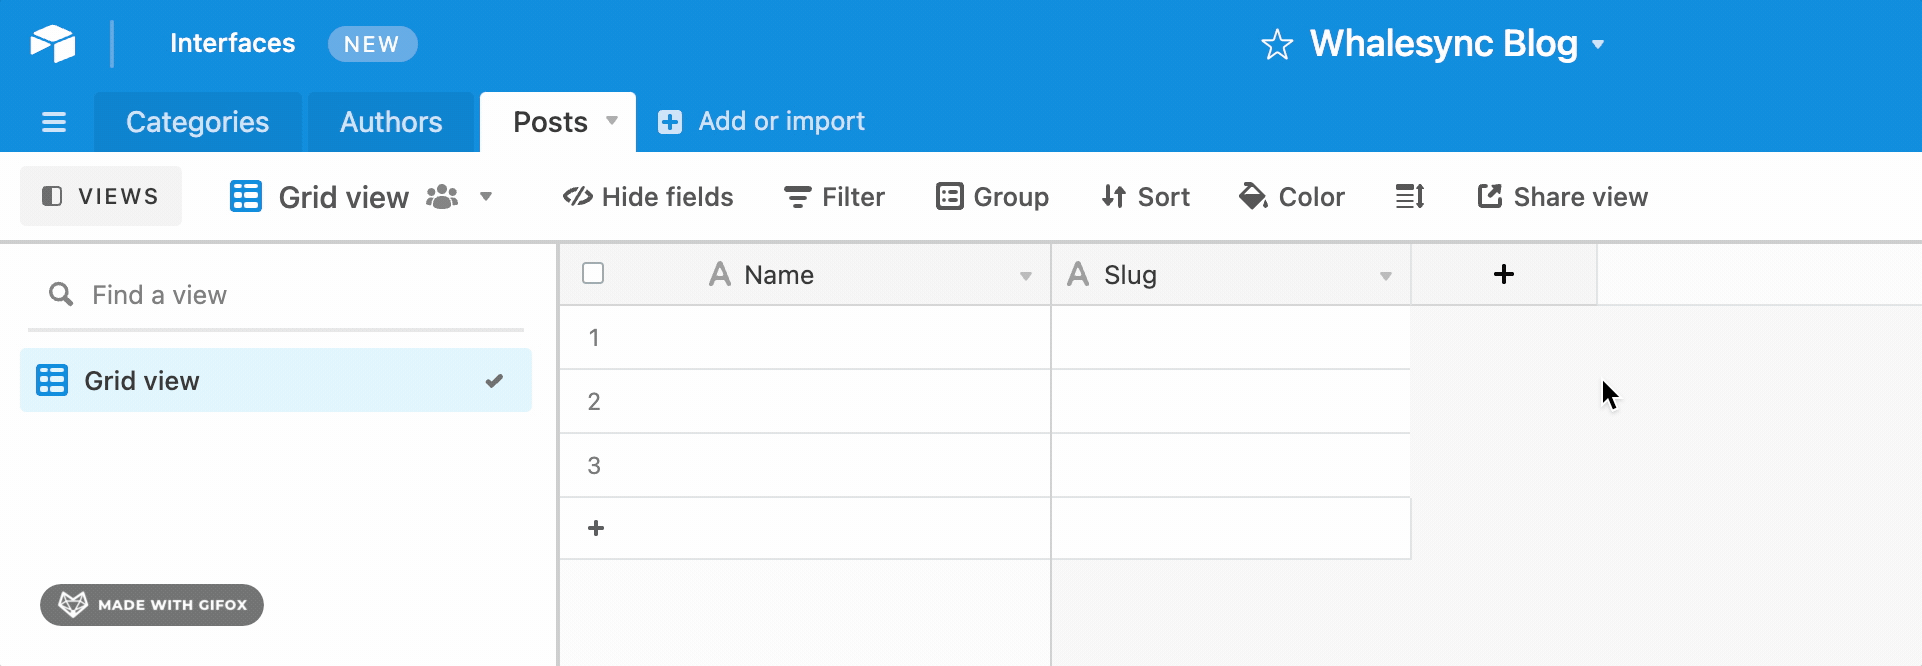
2. Create three tables: Categories, Authors, and Posts
A "table" in Airtable is equivalent to a "sheet" in Google Sheets. In your base, we'll need three tables:
- Categories
- Authors
- Posts
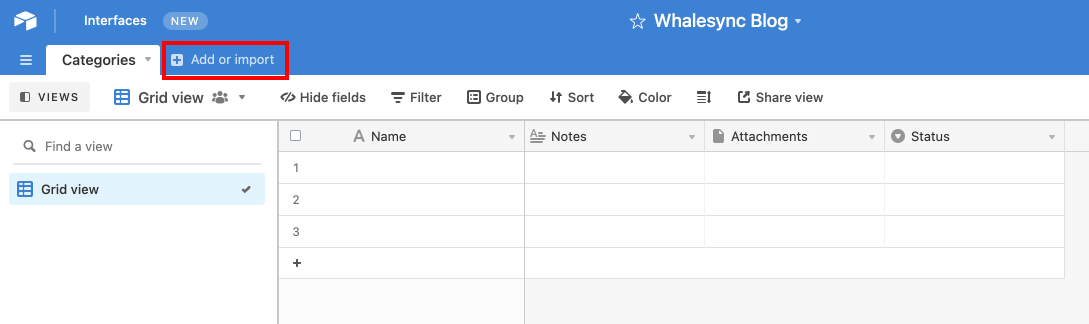
To rename a table, double-click the name of the table in top lefthand corner of the page:
To create a new table, click "Add or import":
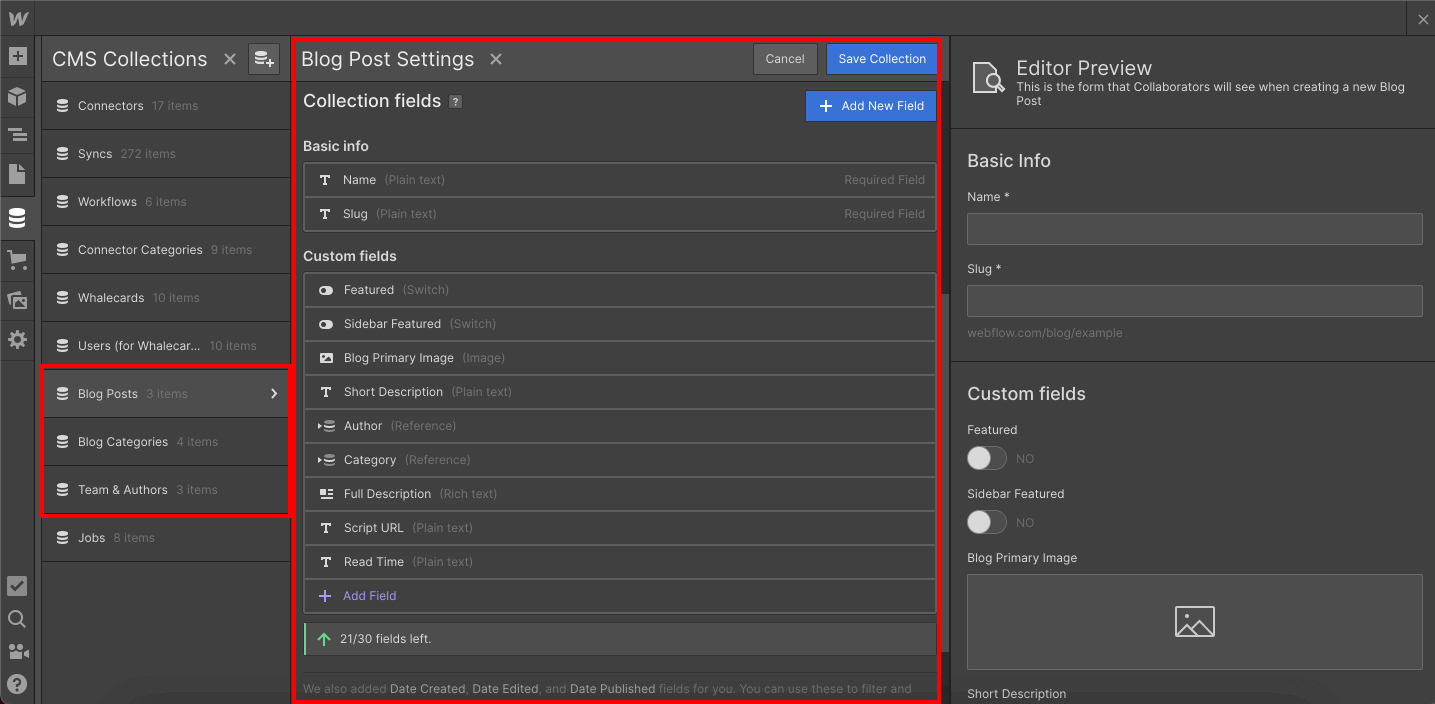
3. Add the custom fields you need to each table
Each table needs columns or "fields" that we can later fill with content. Customize it to fit your needs, but for us it looks like this:
- Categories: slug
- Authors: slug, author photo
- Posts: slug, primary image, short description, content, author, category
To add a field hit the "+" button and choose the necessary field type.
For the Short Description, I chose a "long text" field type (see above). For the Authors field, I'll choose a "linked record" field type. If you're unsure how to create a linked record field type, ping me at matthew@whalesync.com and I'll send you a quick demo video.
4. Add content
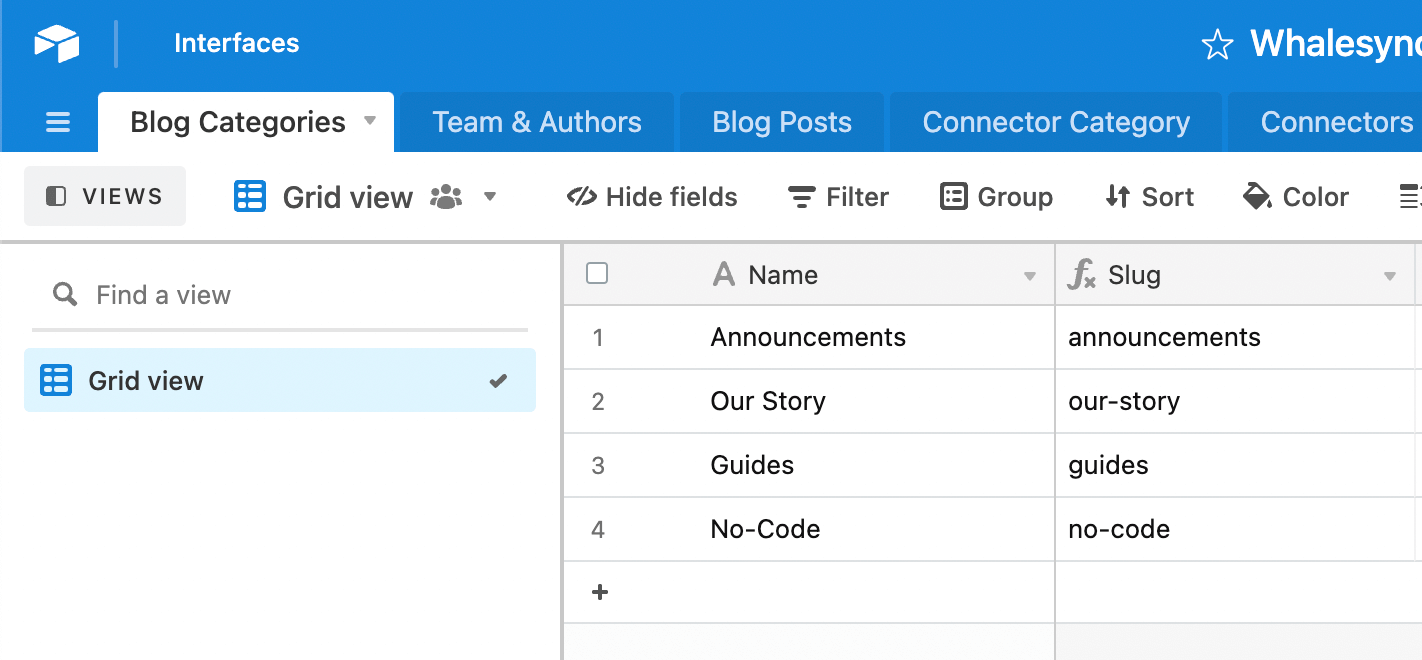
Now that your base is all set up, you can begin adding content. In the Categories table you'll see we created four categories to organize our content:
- "Announcements"
- "Our Story"
- "Guides" and
- "No-Code"
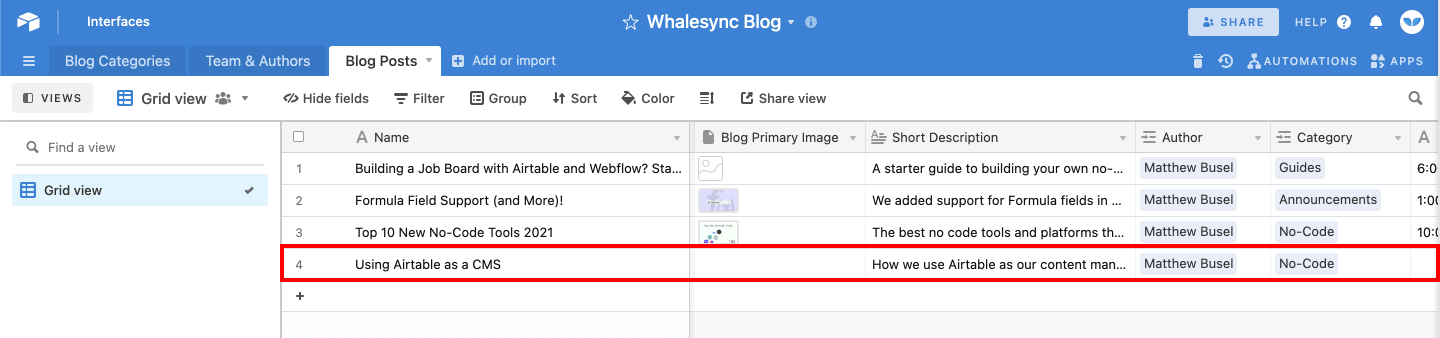
In the Blog Posts page, we add all the info for new pieces of content. You'll notice, each blog post is linked to a Category and an Author from the other two tables.
As a meta example, here is this very blog post in our Airtable CMS. It includes the article's Name ("Using Airtable as a CMS"), the Author (me), the Category ("No-Code"), and other important data.
Once you've added your own content, your Airtable base is now set up as a headless CMS!💥
Now we just need to sync this content to a frontend display (like Webflow).
5. Create a Webflow account and add a project
Webflow.com > Sign Up > New Project

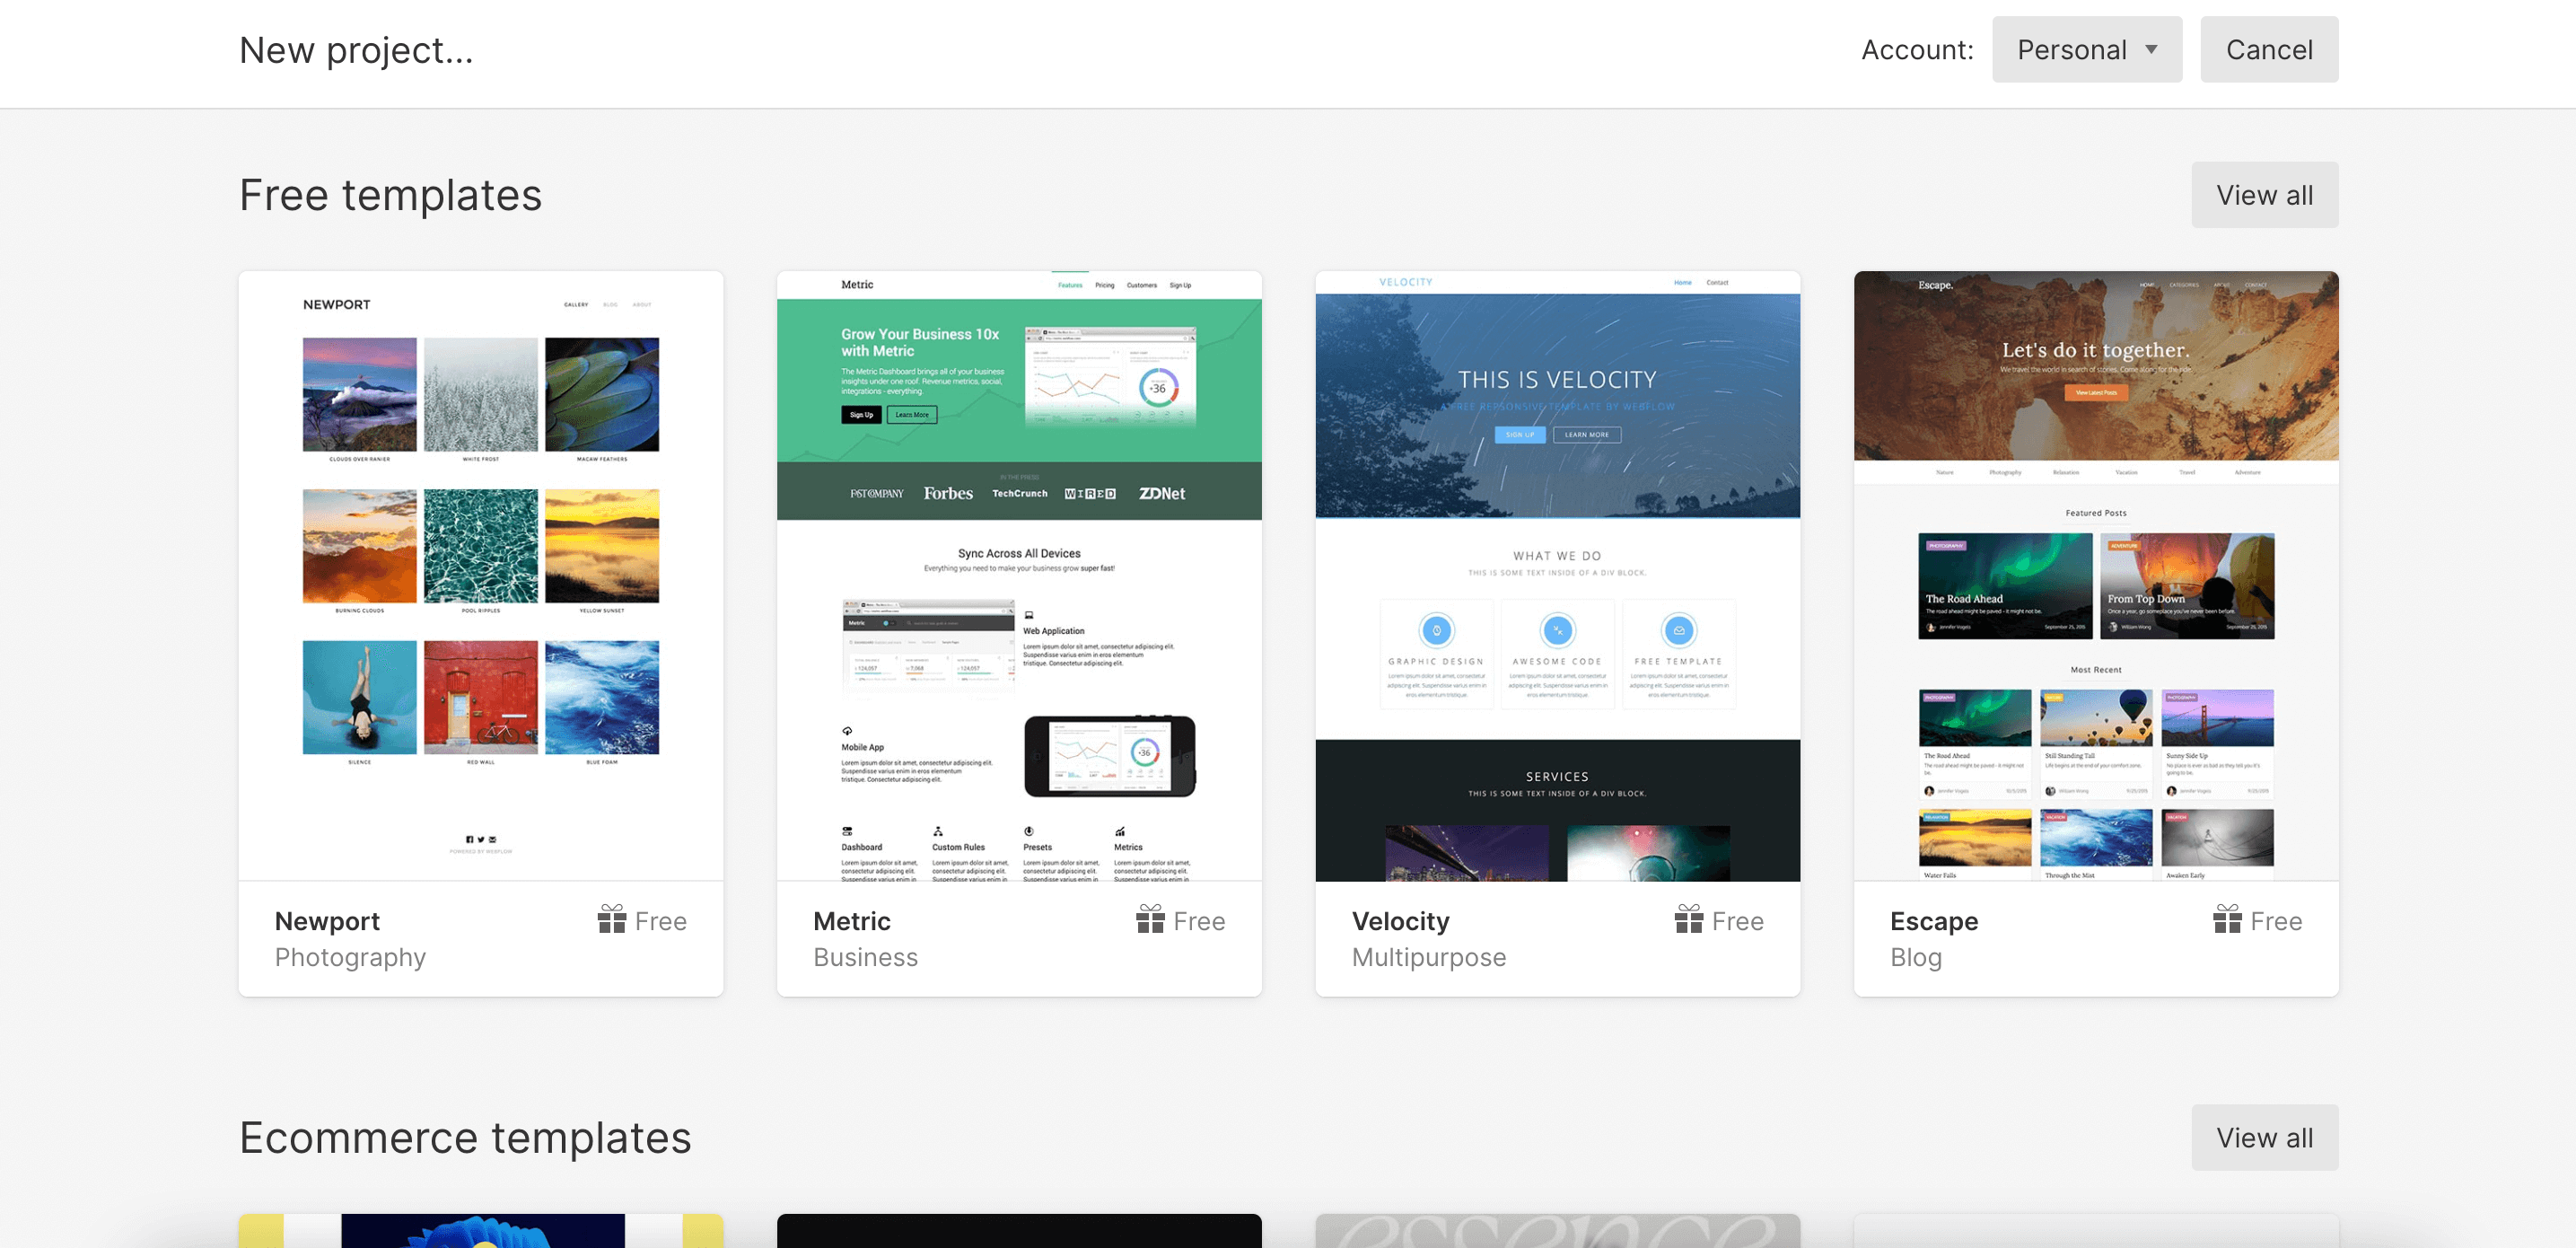
After hitting "New Project", you'll be prompted to either start with a blank site or use a template. Webflow has plenty of free templates specifically for blogs, so I'd highly recommend checking them out.
6. Create the same tables and fields in Webflow's CMS
Once you've created your blog in Webflow, you'll need to prepare it to receive data from your Airtable CMS. By clicking on the data storage icon on the left sidebar, you'll open up Webflow's CMS.
Just like in Airtable, you should create three "Collections" that match the tables in your Airtable base (Categories, Authors, & Posts). Then in each of these Collections, add the same fields that you have in Airtable (eg. primary image, short description, etc.).
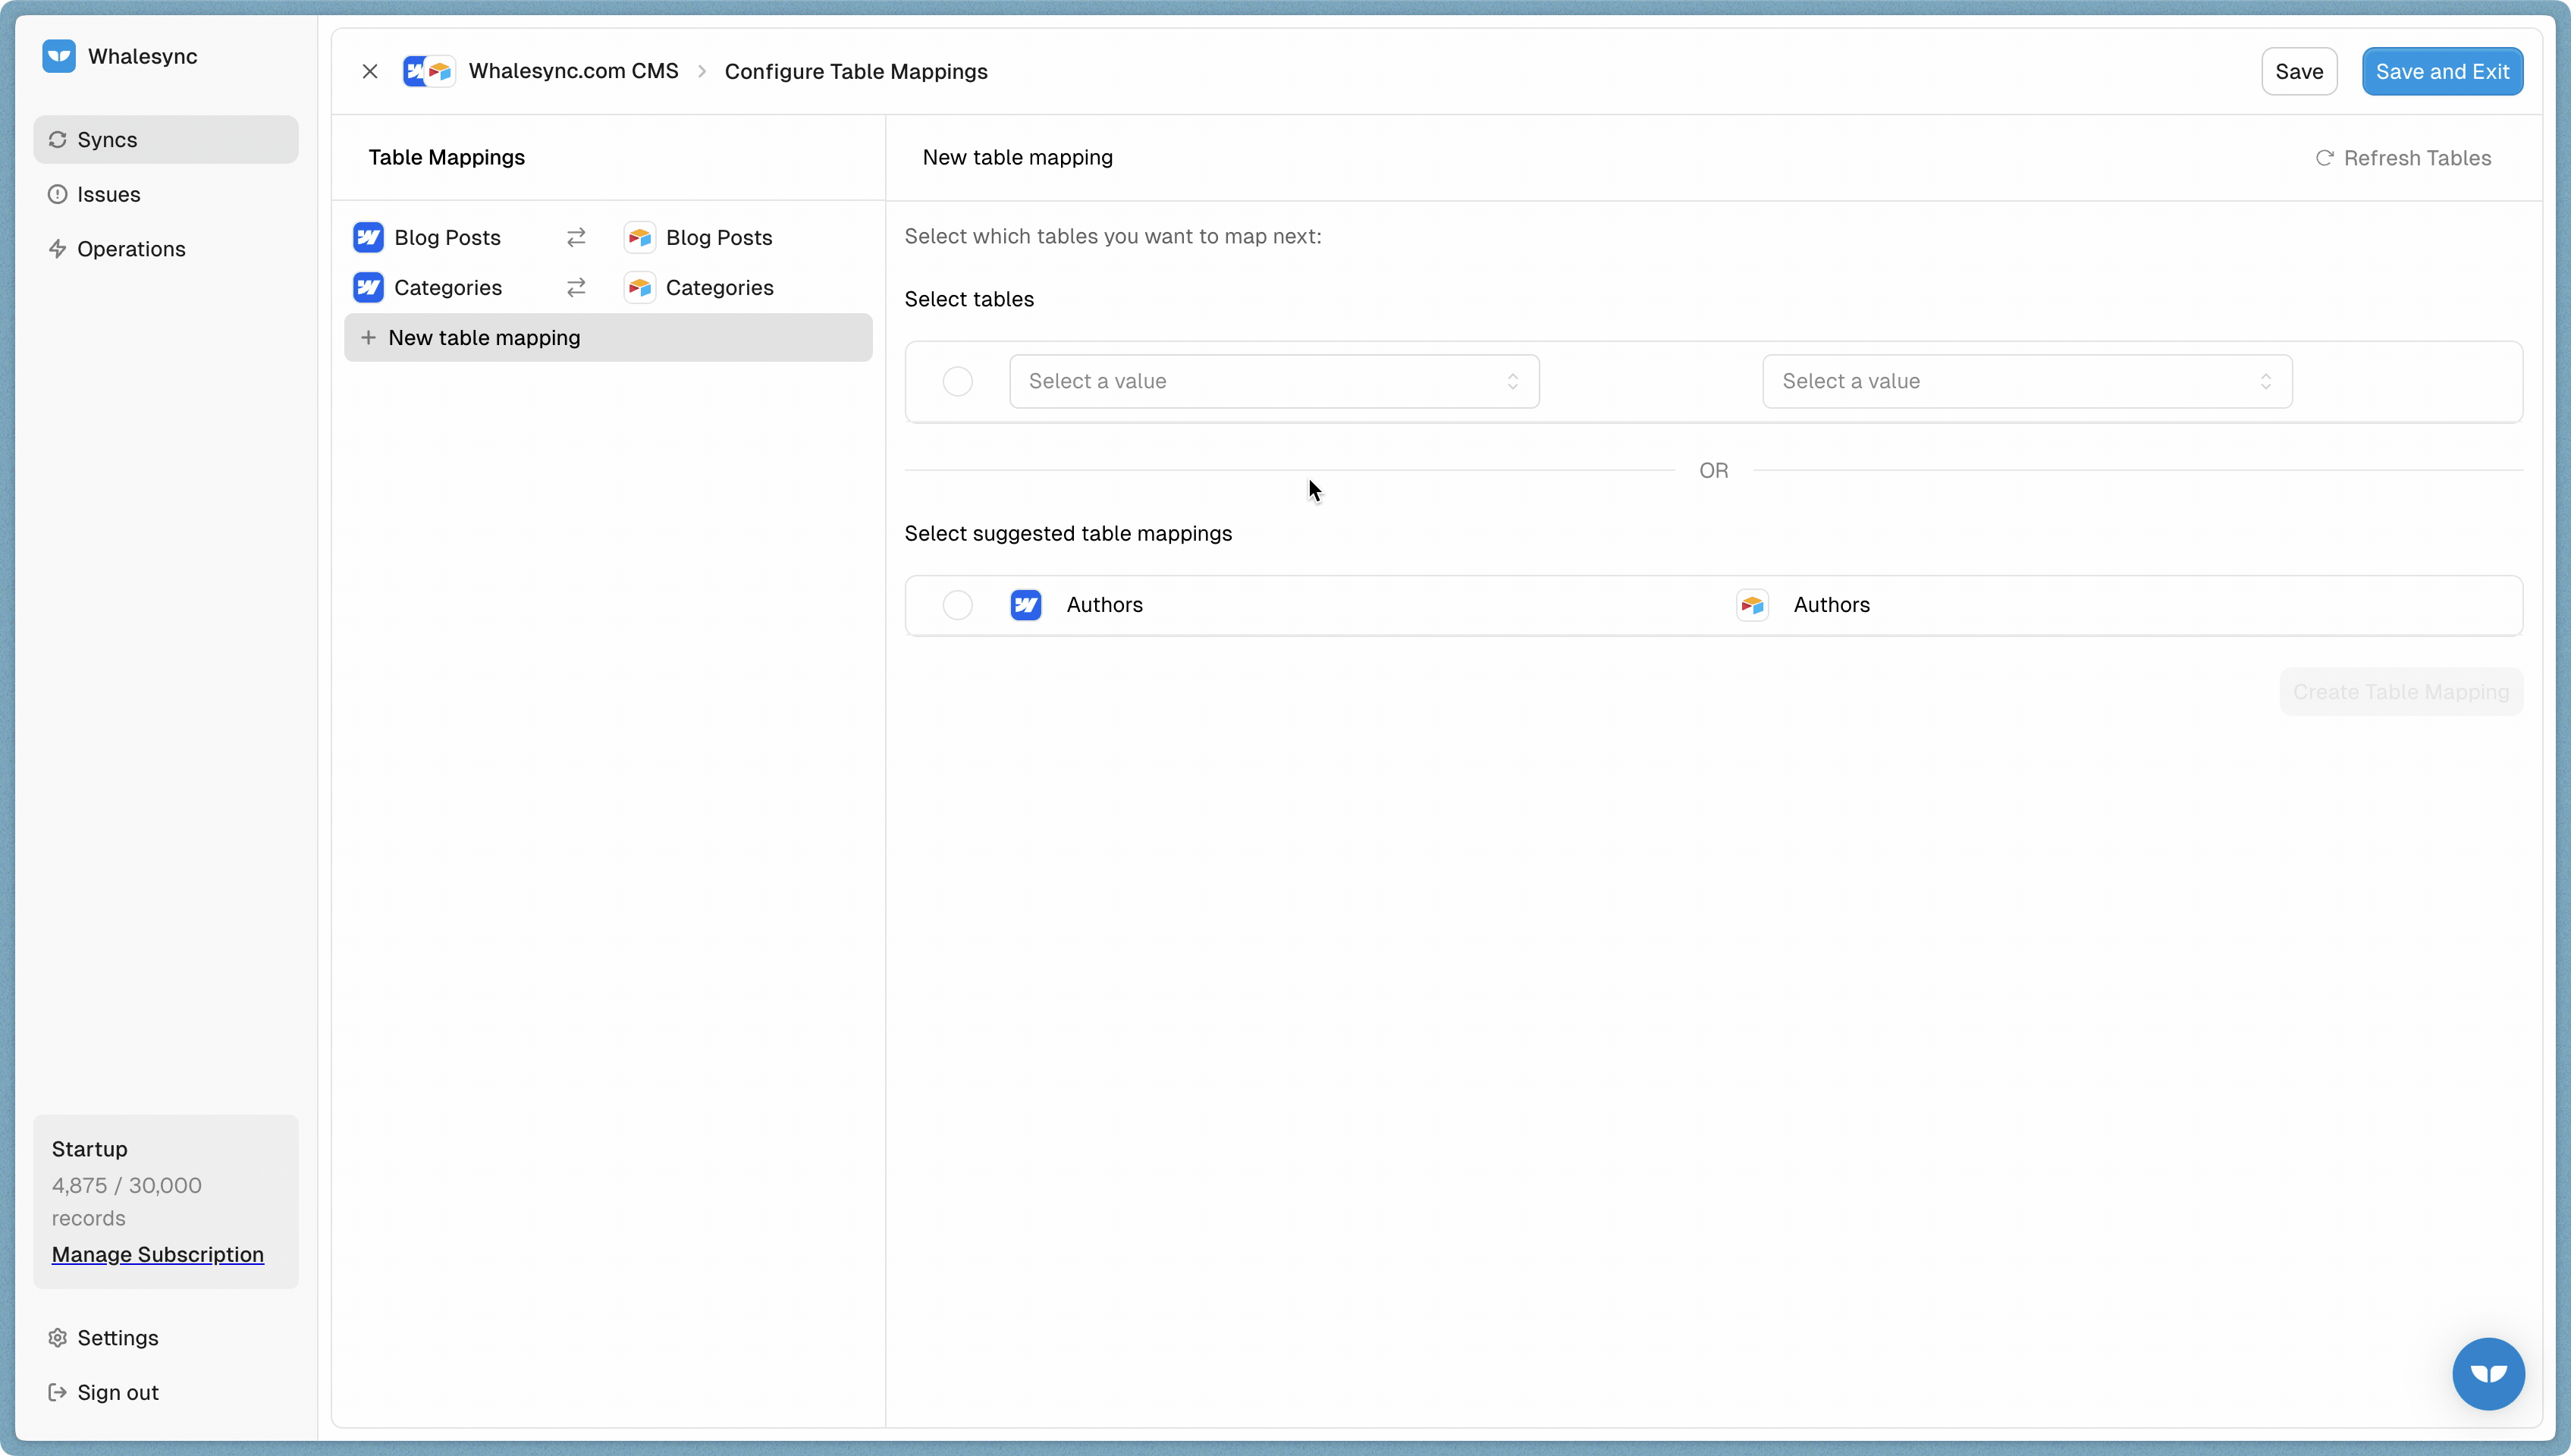
7. Use Whalesync to map your Airtable CMS to Webflow's CMS
At this point you have an Airtable CMS with your content and a Webflow blog that's ready to receive content. Now we just need to connect the two.
There's a few ways to accomplish this, but we think the easiest way to sync Airtable and Webflow is with Whalesync! In a few minutes, you can map Airtable to your Webflow CMS and create a continuous sync. Once the tools are connected, any new content you add to Airtable will automatically be sent to your Webflow frontend.
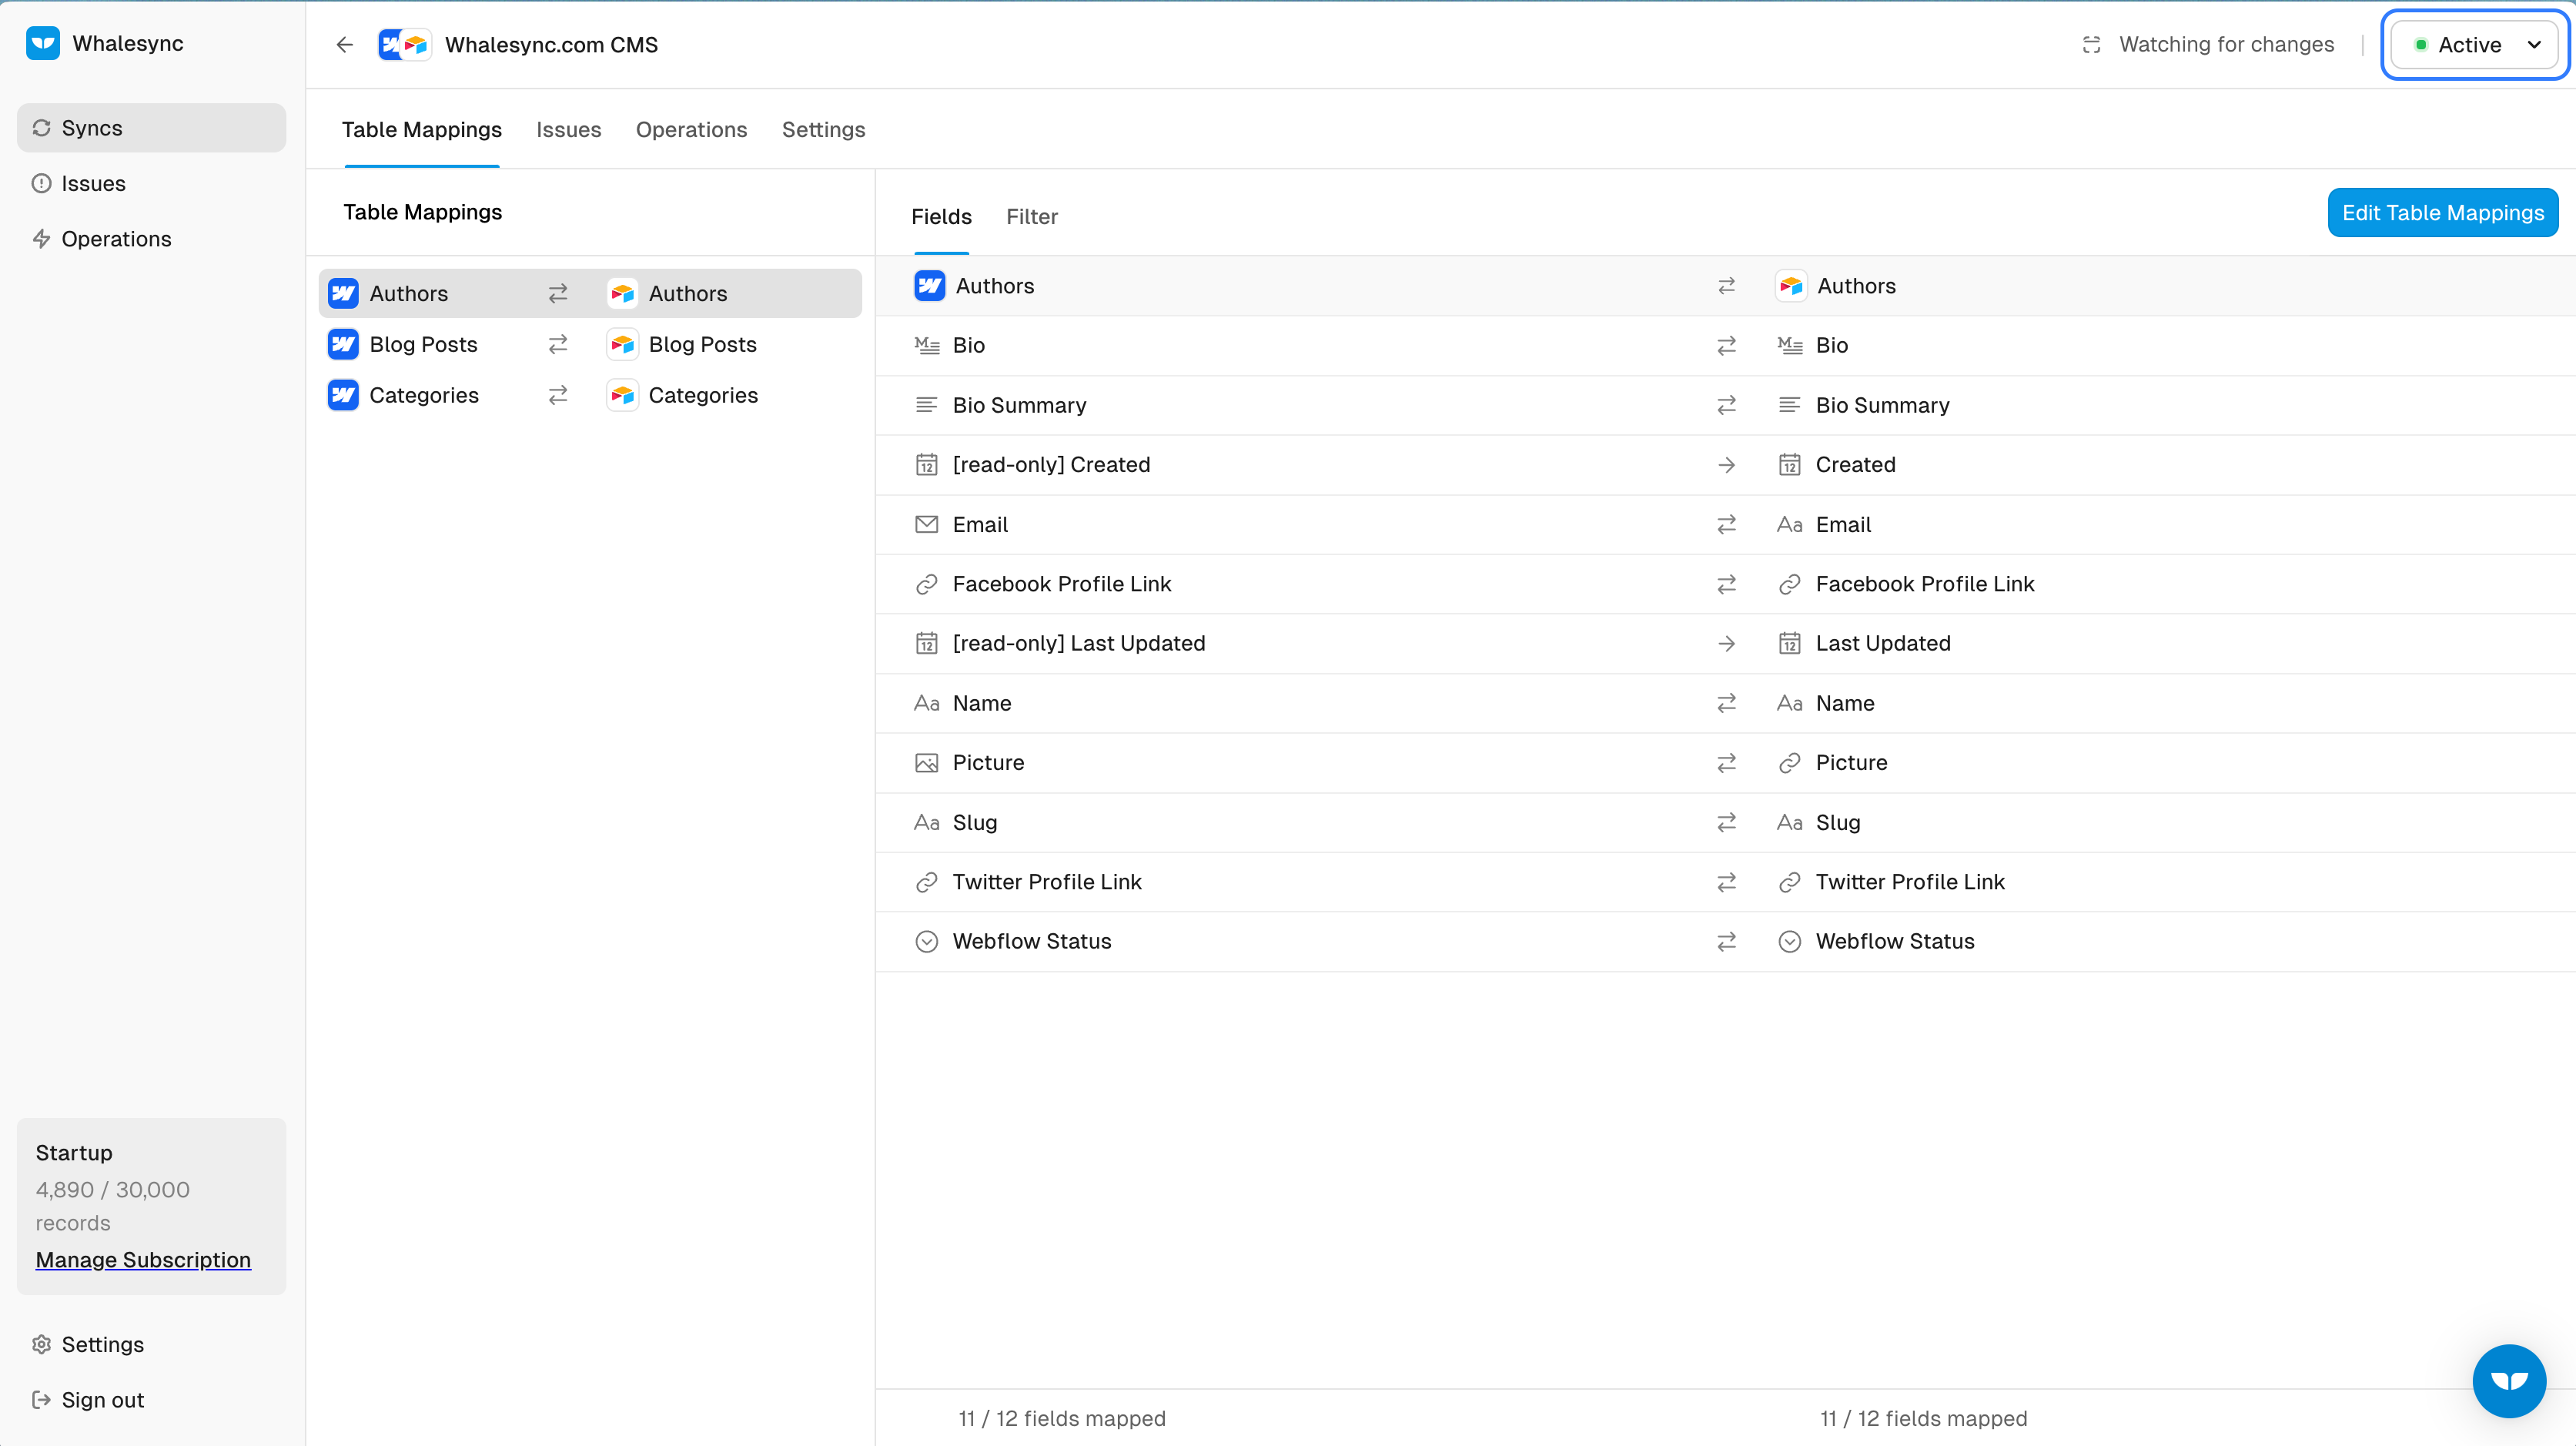
8. Turn sync on ✅
Finally, let's turn sync on! Once toggle is switched to active, your CMS data will start syncing from Airtable to Webflow.
You now have a fully functioning blog using Airtable as a CMS. You can customize every detail of the design of your page in Webflow and manage all of your data in Airtable 🙂.
Summary
Airtable offers a great solution for those in need of a lightweight headless CMS. It's flexibility makes it easy to add the fields you need and you can connect it to a frontend with no-code using Whalesync. Using Airtable as a CMS is one of our favorite decisions in our own no-code stack.
For a quick overview of how to set up Whalesync specifically, check out our video guide:
Bonus
If you need help setting up Airtable as your CMS, Whalesync has a host of expert Certified Partners.
Subscribe for more
Stay up to date with the latest no-code data news, strategies, and insights sent straight to your inbox!


.svg)


.svg)

