How to sync Webflow and Vertex
Connect Webflow to a scalable Postgres database
-(1).avif)
Matthew is the co-founder of Whalesync.
How to sync Webflow & Vertex
Webflow is (arguably) the most versatile no-code website builder on the planet. Through their CMS, you can create thousands of beautifully designed template pages. Sometimes though, you need to work with CMS data outside of Webflow. For these cases enter Vertex.
Vertex is a new no-code database that feels like a cross between Airtable and Supabase. It’s built on top of PostgreSQL, so it can scale as large as you need but is also no-code friendly. Similar to Airtable, you can point and click to create new tables, fields, and rows. Unlike Airtable, there is no 50,000 record limit 🙂.
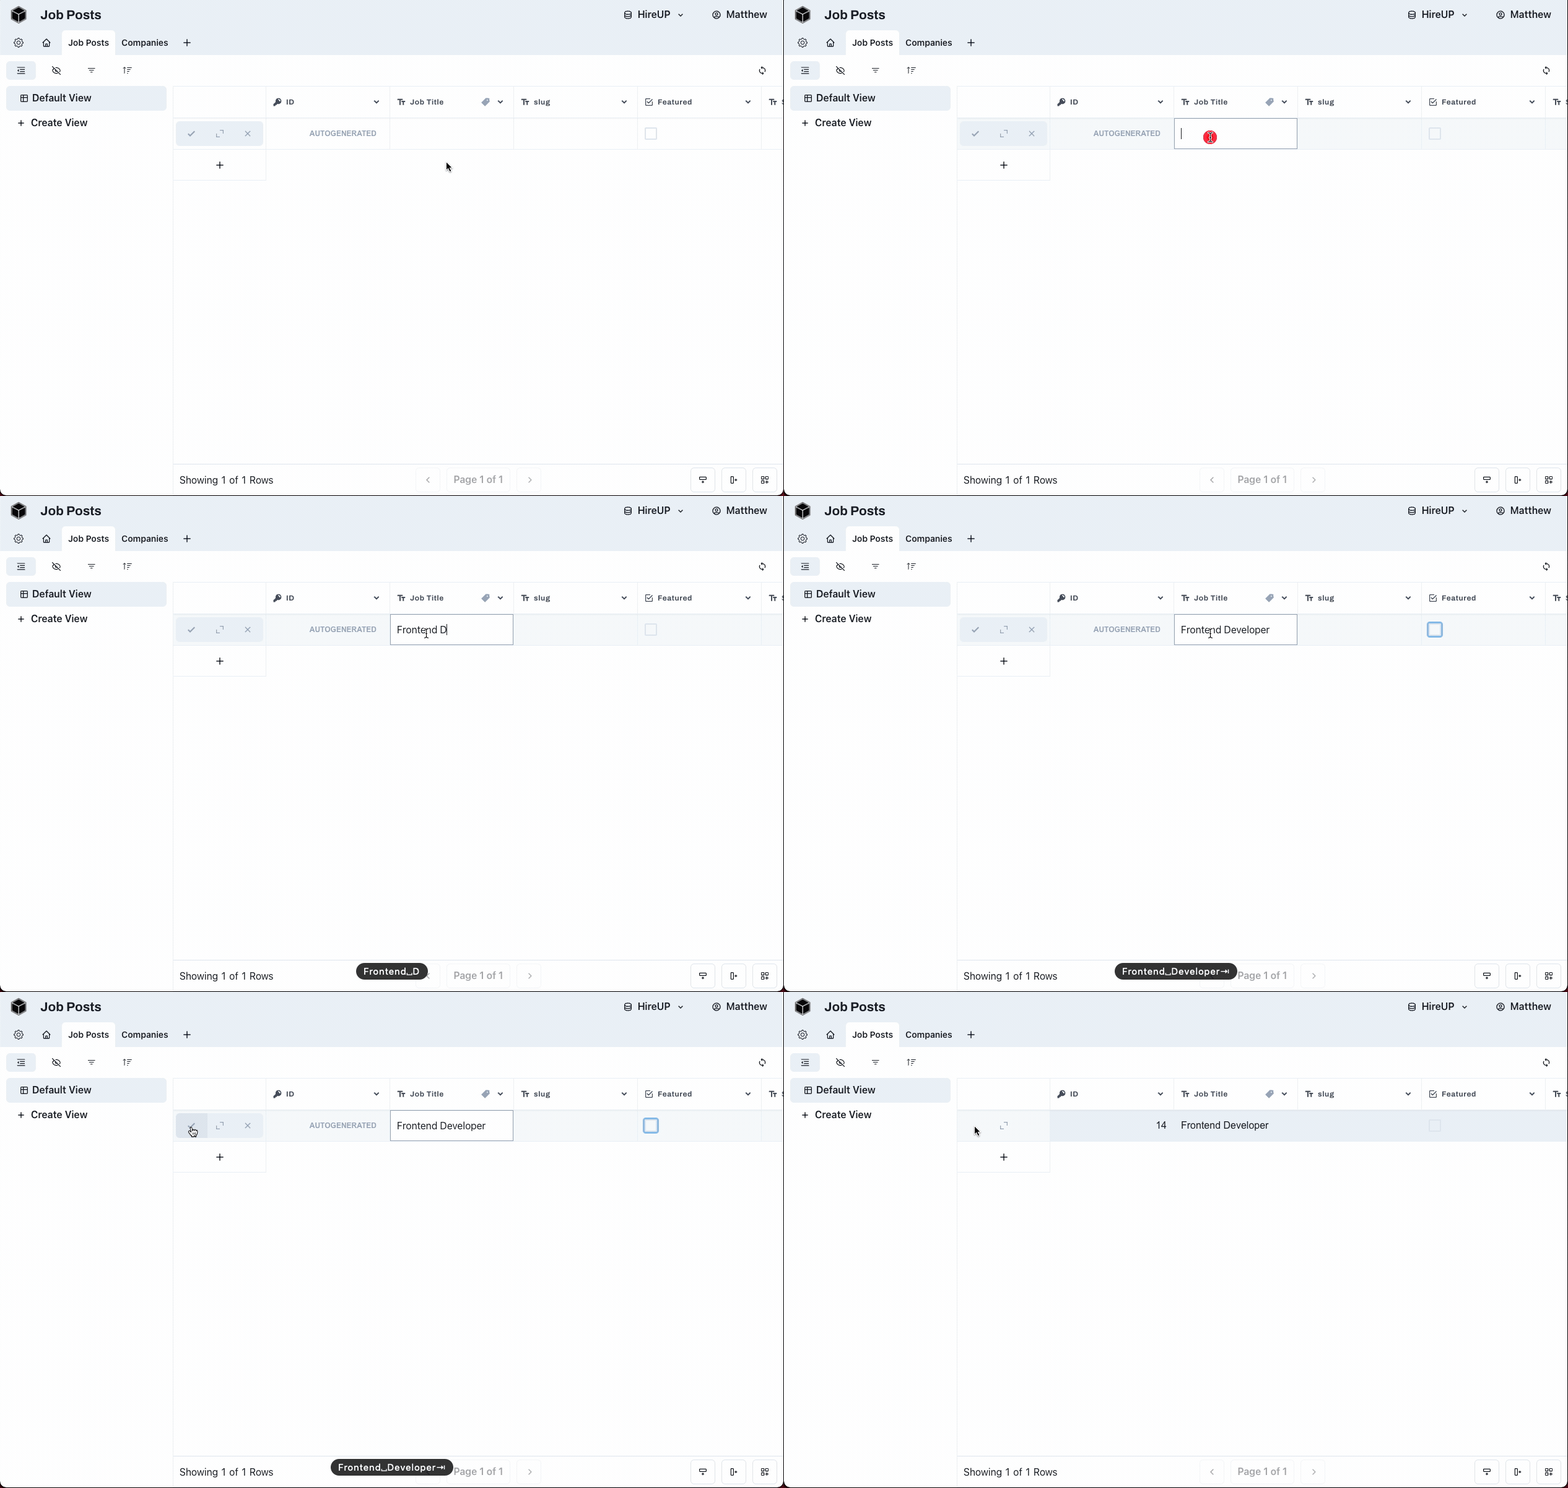
In this tutorial, we’ll show you how to connect Webflow to Vertex using Whalesync. The end result will be a Webflow site backed by a Postgres database (🤯). You’ll be able to control the Webflow CMS (create items, update items, etc.) all from the comfort of a Vertex database.
Prepping Webflow
Let’s start with our Webflow site. For this example, I’m using a free Webflow template called HireUP.

HireUP comes with three collections. For this example, we’ll just sync the Job Posts collection and the Companies collection.
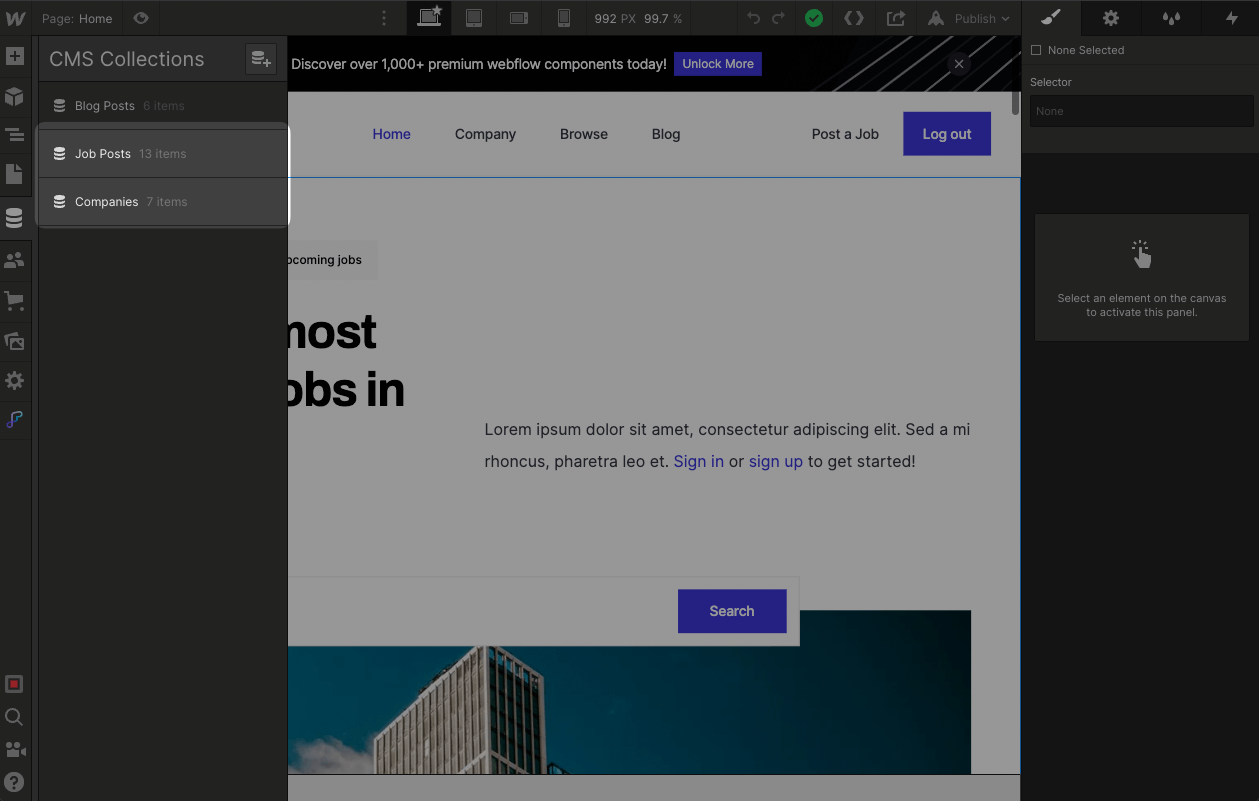
As you may have guessed, Job Posts contains all the job posts displayed on the site and has a reference field to Companies.
Prepping Vertex
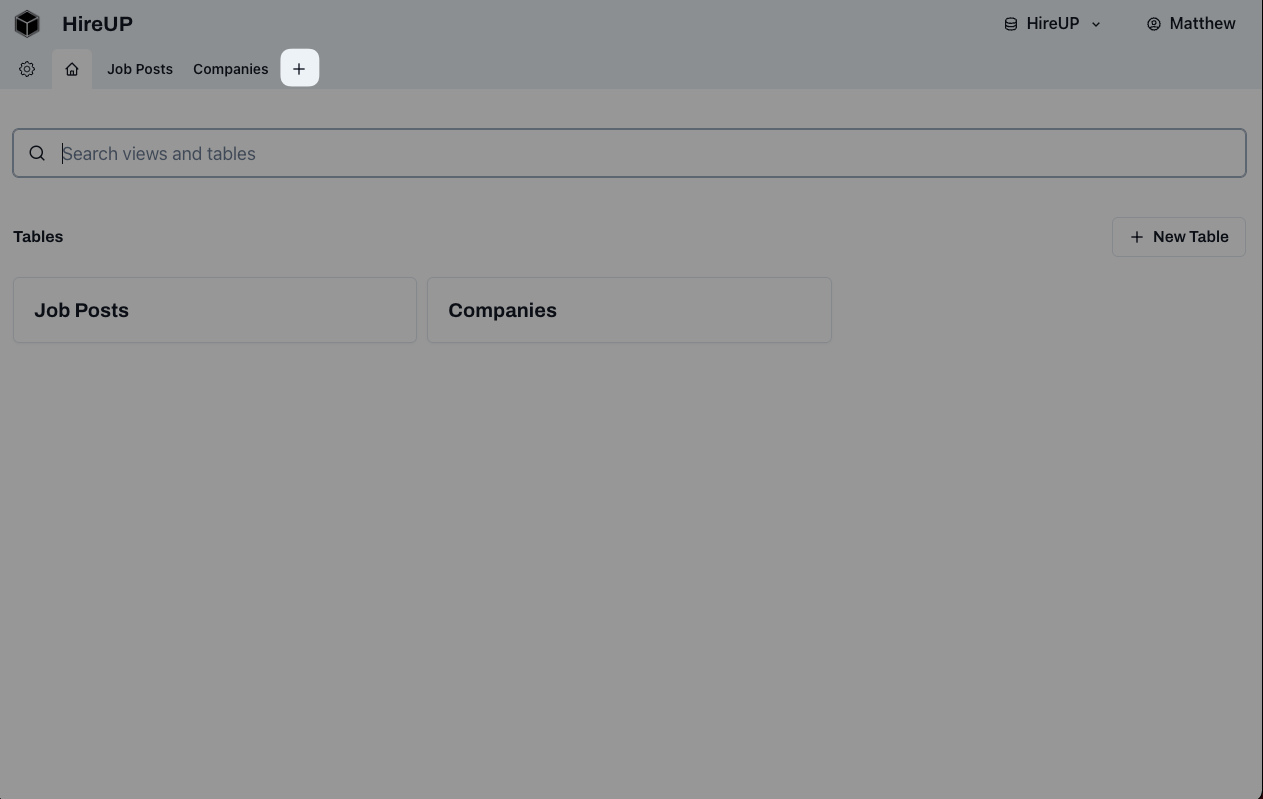
In Vertex, you’ll want to mirror the data in Webflow so you can sync the two. Start by creating a new Datasource:

Then add two tables. One called Job Posts and one called Companies.
Finally, add all the fields that are in your Webflow collections as fields in Vertex.
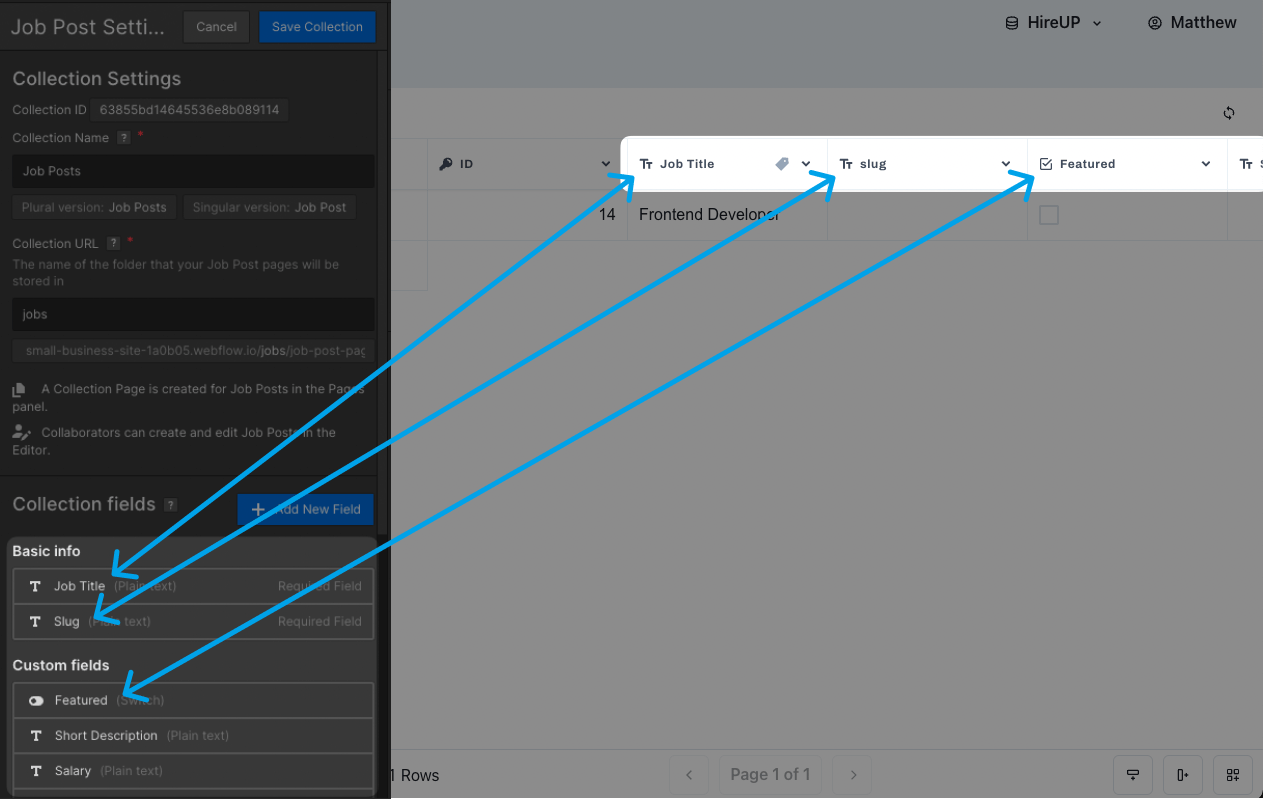
Great! You’re now all set up and ready to start syncing.
Syncing with Whalesync
To connect Webflow and Vertex we’re going to use our own tool: Whalesync.
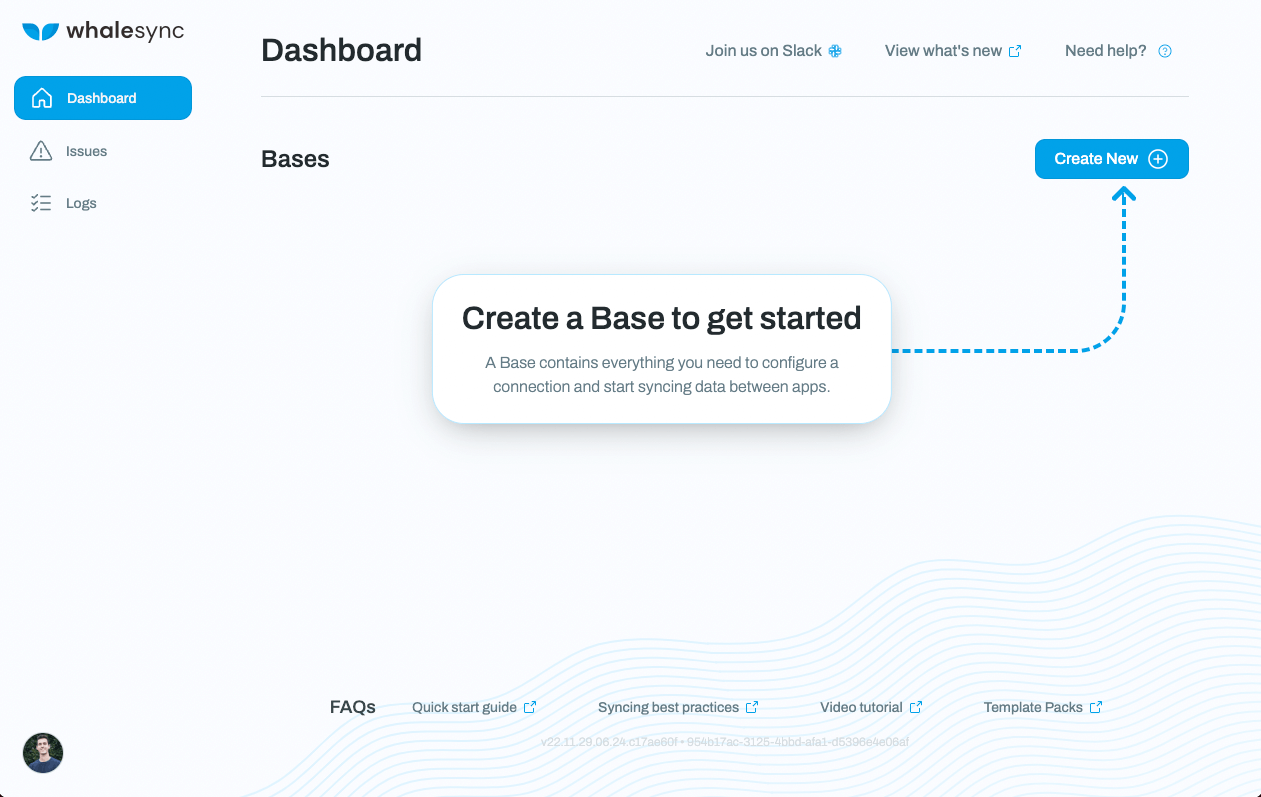
First click “Create new”.
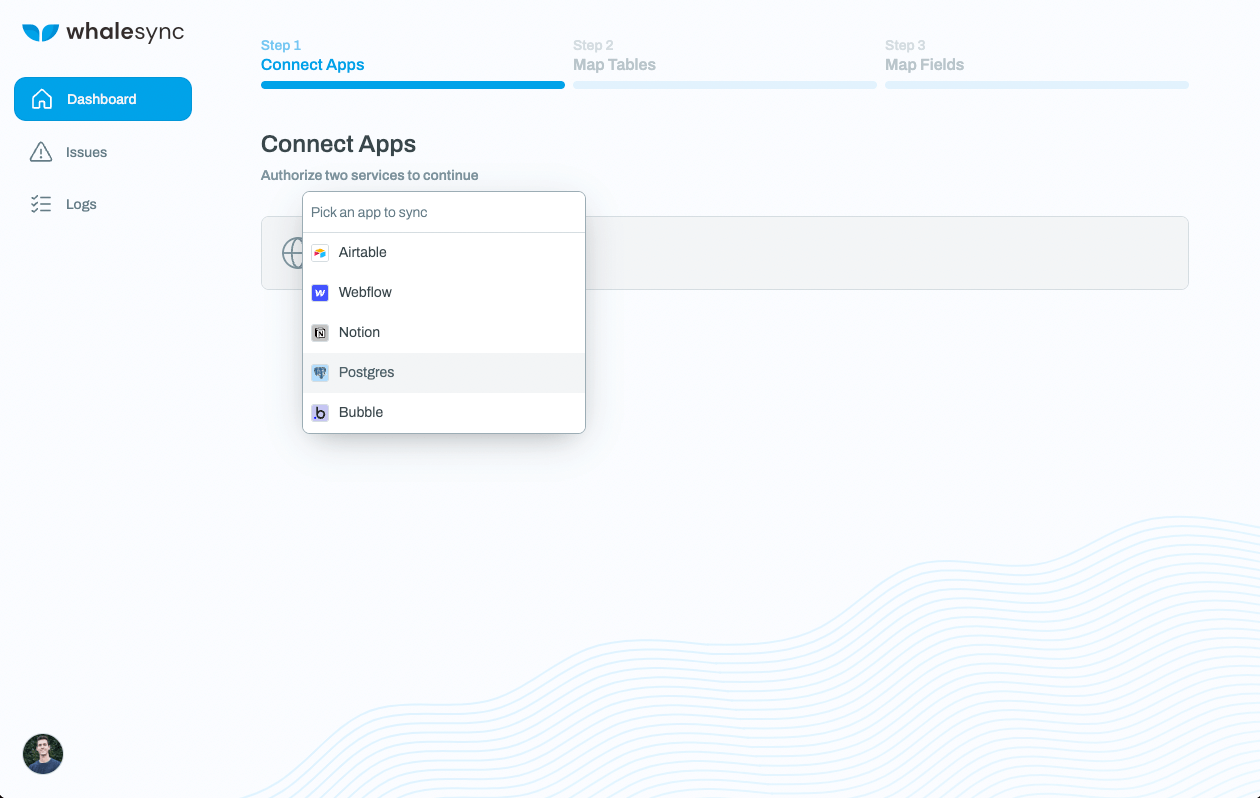
Then choose Postgres as your app since Vertex is a Postgres database.
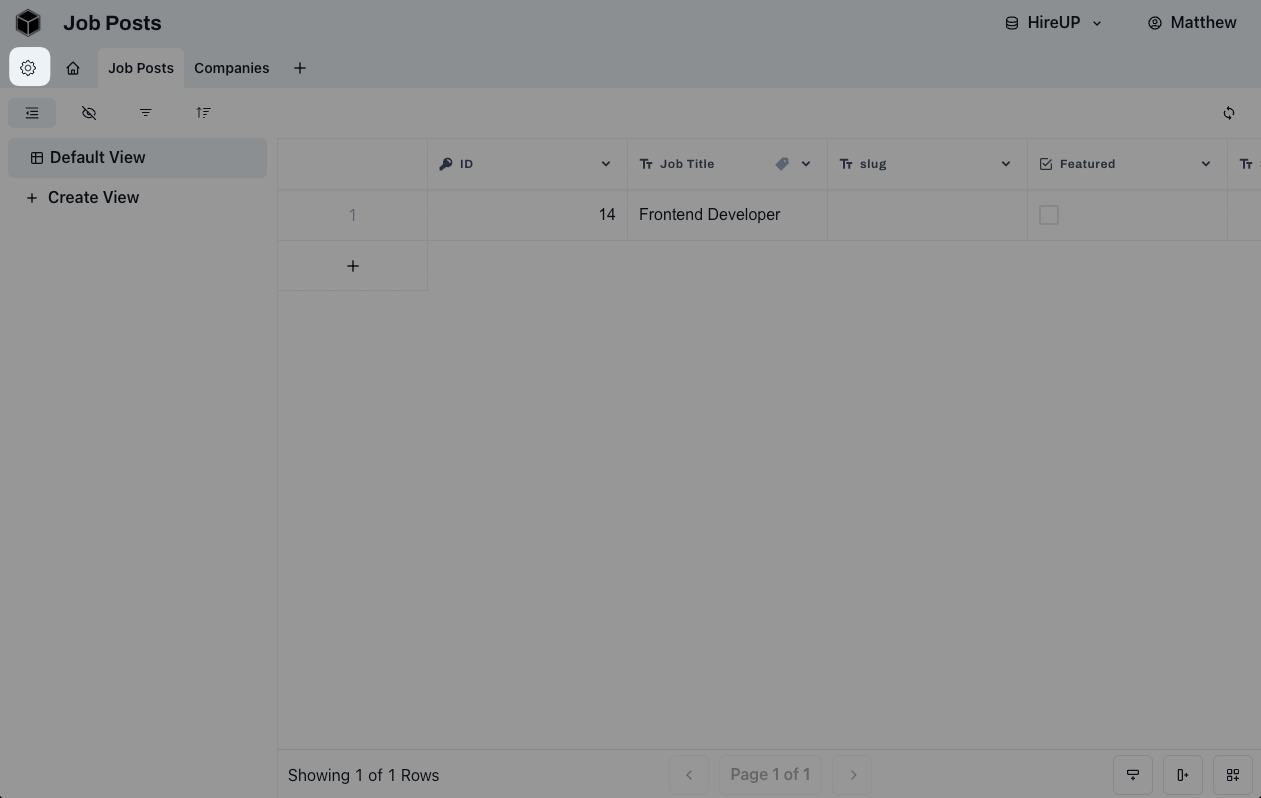
You’ll need the connection string to connect, so grab that from Vertex by clicking on settings.
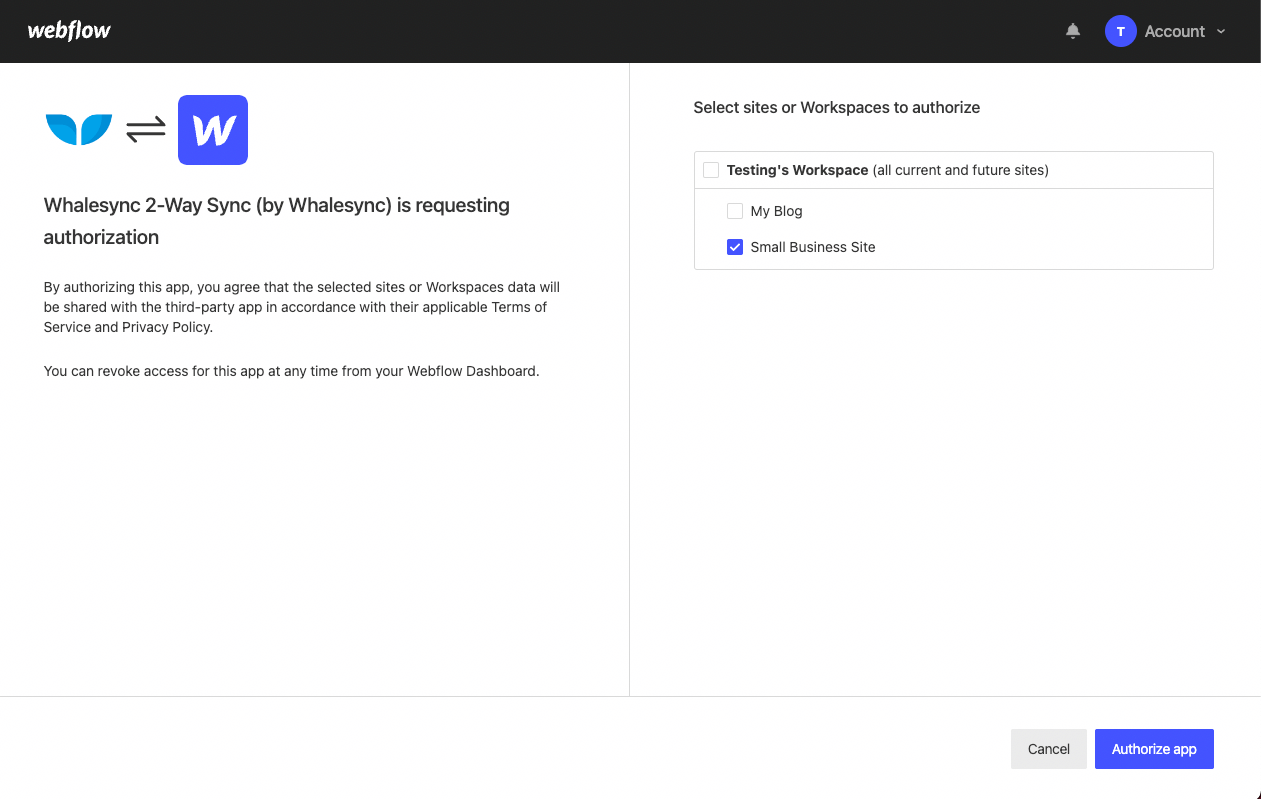
Next, authorize Webflow by choosing the site you want to sync.
Now that you’ve connected to Vertex and Webflow, you’ll want to map the collections in Webflow to the tables in Vertex. (Hint - if you name them the same, Whalesync will auto-map them)
You can then choose the direction of the sync. For this example, I’d recommend choosing two-way sync so you can control your Webflow data directly from Vertex.
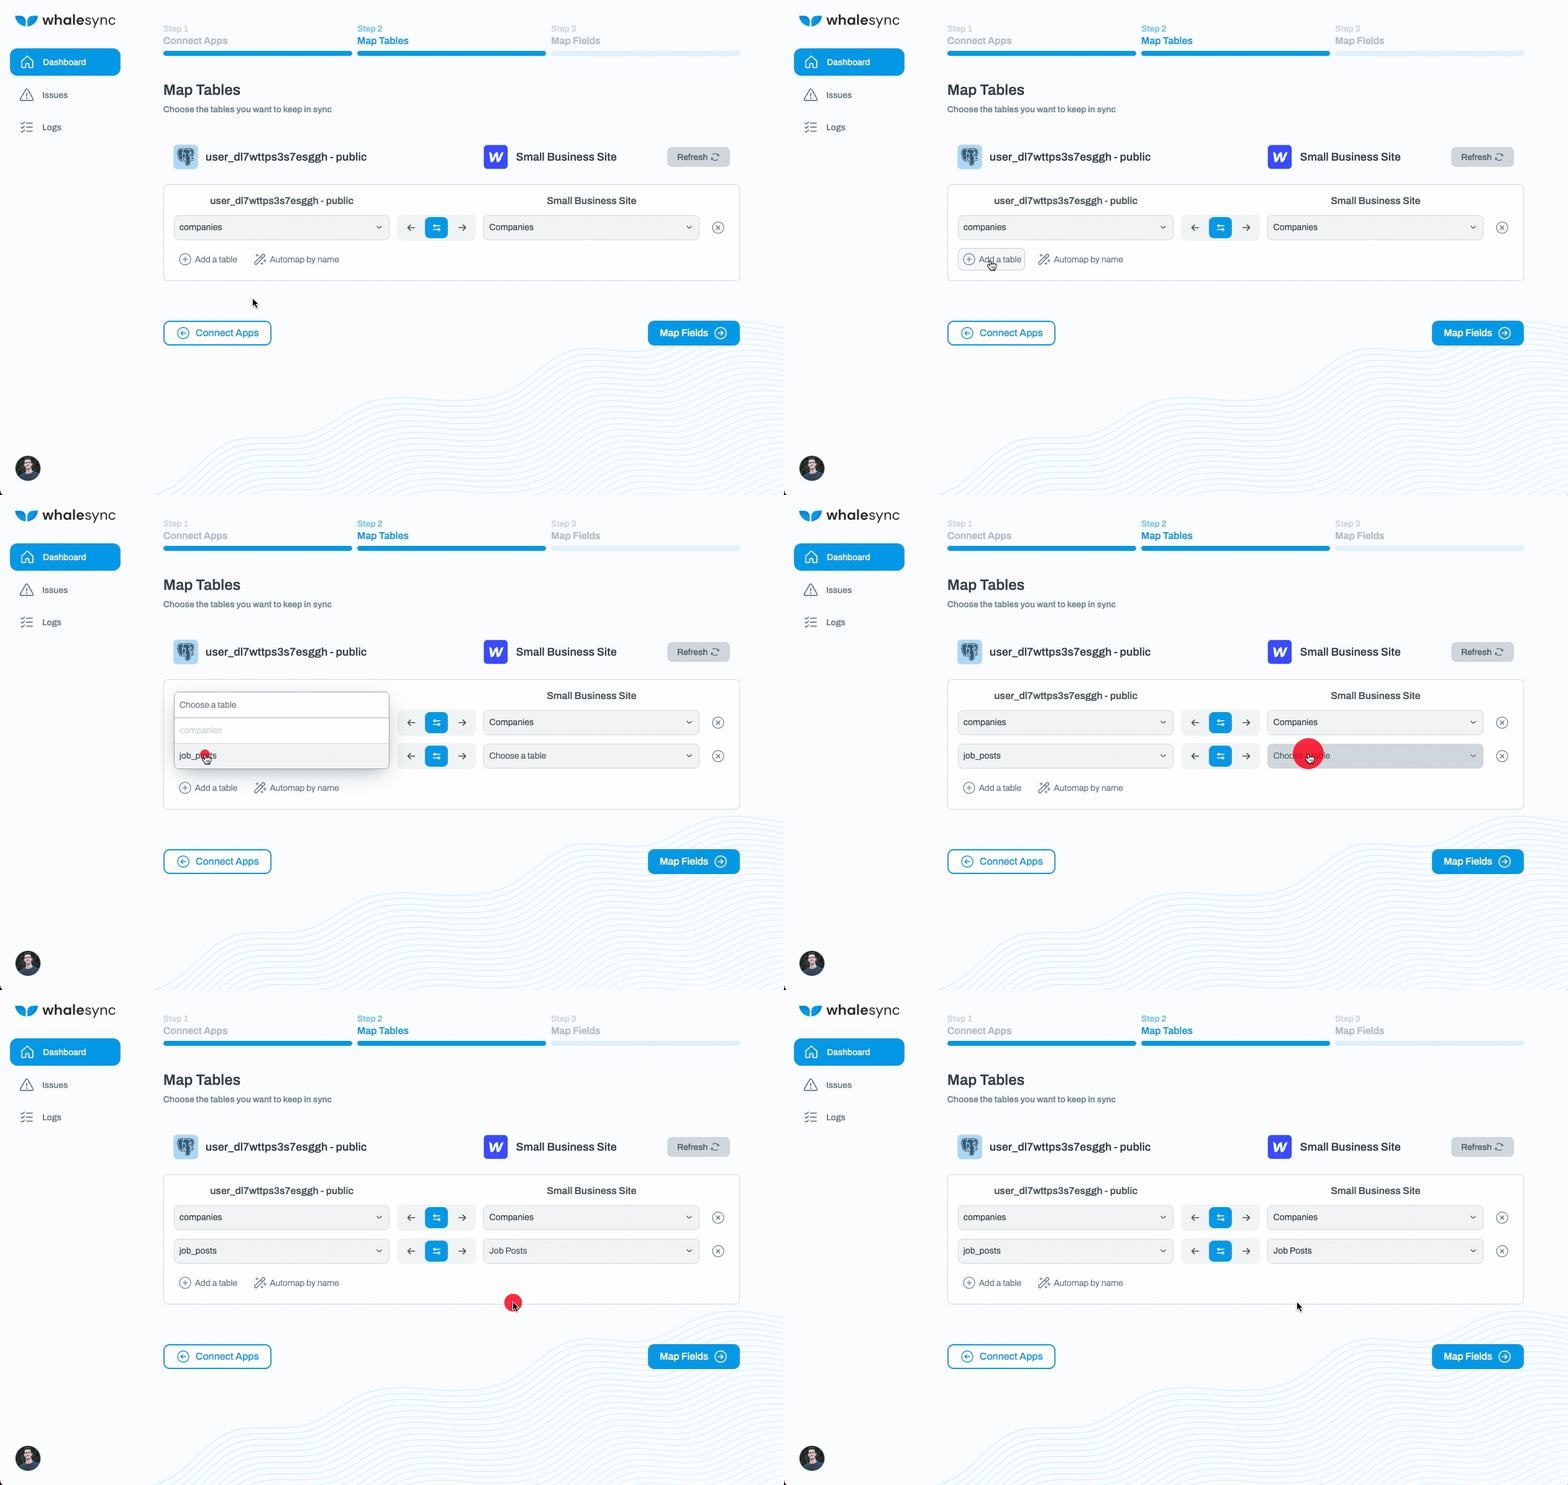
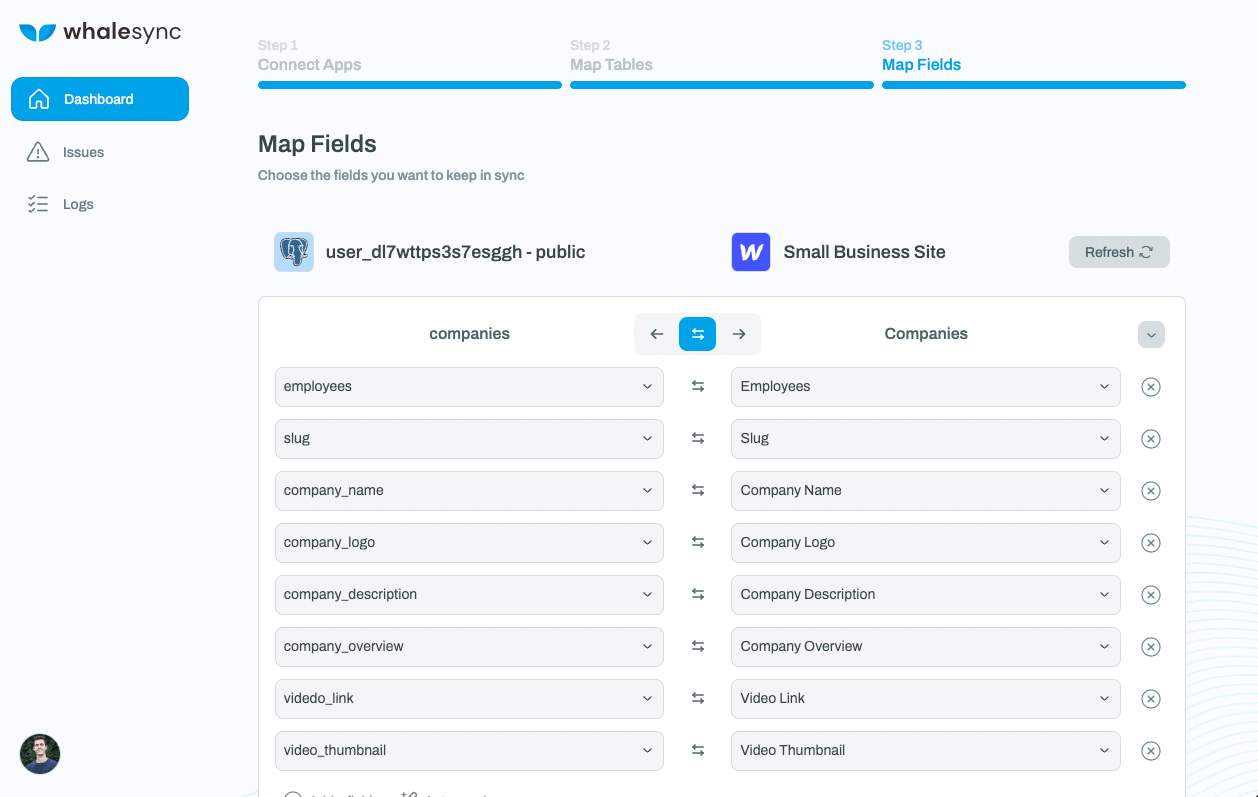
Once you’ve mapped the data tables, you can now map the fields in a similar fashion.
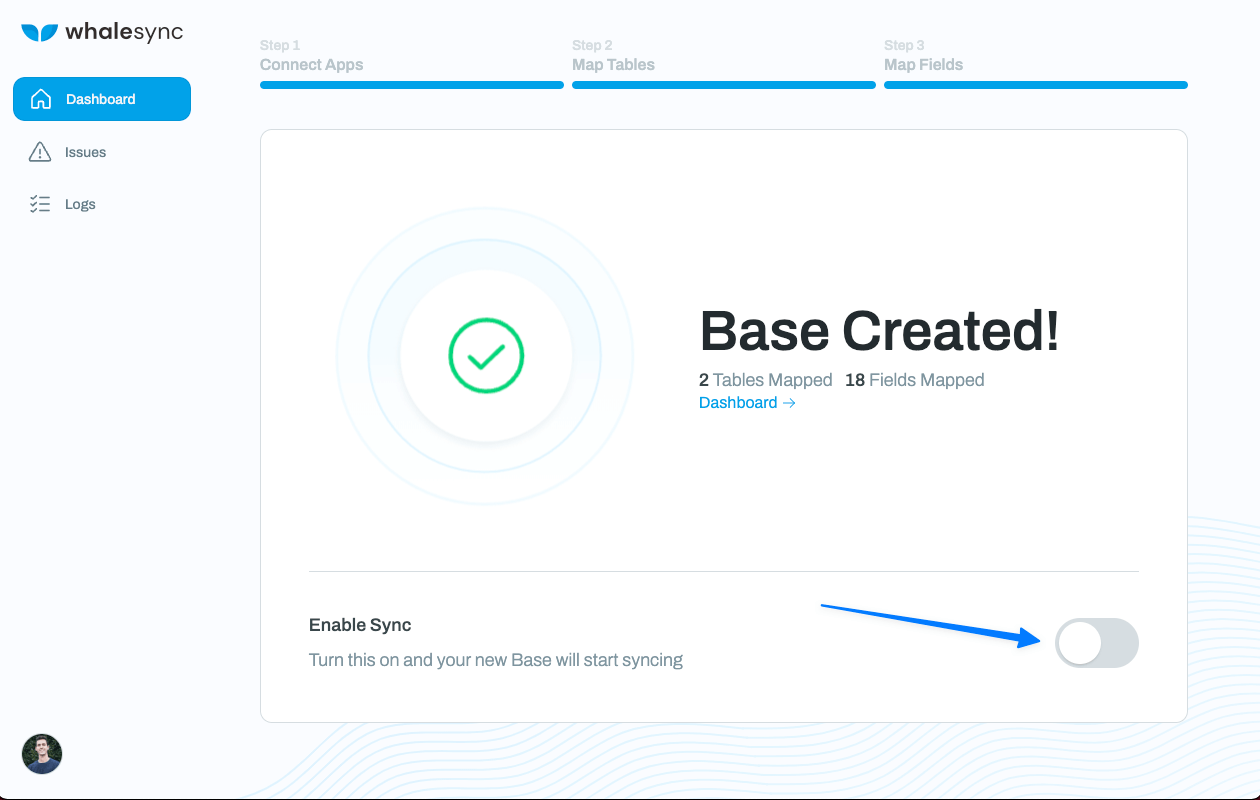
Finally, you can save your base and turn sync on!
Using Vertex as a Webflow Backend
Once you’ve turned sync on, you should see your Webflow items immediately appearing in your Vertex database (🎉).
.gif)
Having your Webflow data in a Postgres database like Vertex allows your Webflow site to scale. If you’ve enabled two-way sync, you can also use Vertex to control the CMS. We’re excited to see all the different ways people use this powerful combination!
Subscribe for more
Stay up to date with the latest no-code data news, strategies, and insights sent straight to your inbox!




.svg)


.svg)

