How to Manage Your Webflow Blog from Notion (Step-By-Step Guide)
Step-by-step guide on how to manage your Webflow blog post from Notion

Are you a content marketer looking for a powerful tool to manage your blog posts? Look no further than Notion! With its easy-to-use editor, custom fields, and simple collaboration tools, Notion is the perfect place to draft, edit, and publish your blog posts. But what about your website? That's where Webflow comes in. By integrating Notion with Webflow, you can manage your entire content process end-to-end from Notion. In this step-by-step guide, we'll show you how to deeply connect Notion to Webflow so you can literally write a blog post in Notion and publish it live to your Webflow site instantly.
First, we'll show you how to create a database in Notion to store and organize all your blog posts. Then, we'll walk you through customizing your Webflow site and adding all the fields from your Notion database. Finally, we'll show you how to use Whalesync to sync your data from Notion to Webflow. With Notion's centralized management, customizable fields, and rich text editing combined with Webflow's syncing feature, you'll be able to publish your posts quickly and easily. Say goodbye to the days of copy-pasting from Notion to Webflow and hello to a more streamlined workflow with Notion!
Overview
- Create a content database (Notion)
- Customize your blog page (Webflow)
- Sync your data from Notion to Webflow (Whalesync)
1. Create a content database
Tool Used: Notion
Creating a database in Notion is the first step to managing a blog. It allows you to store and organize all your blog posts in one place and customize it to your specific needs. Additionally, Notion's content creation tools make it easy to draft, edit, and publish your blog posts, while its collaboration features allow you to work together with team members effectively.
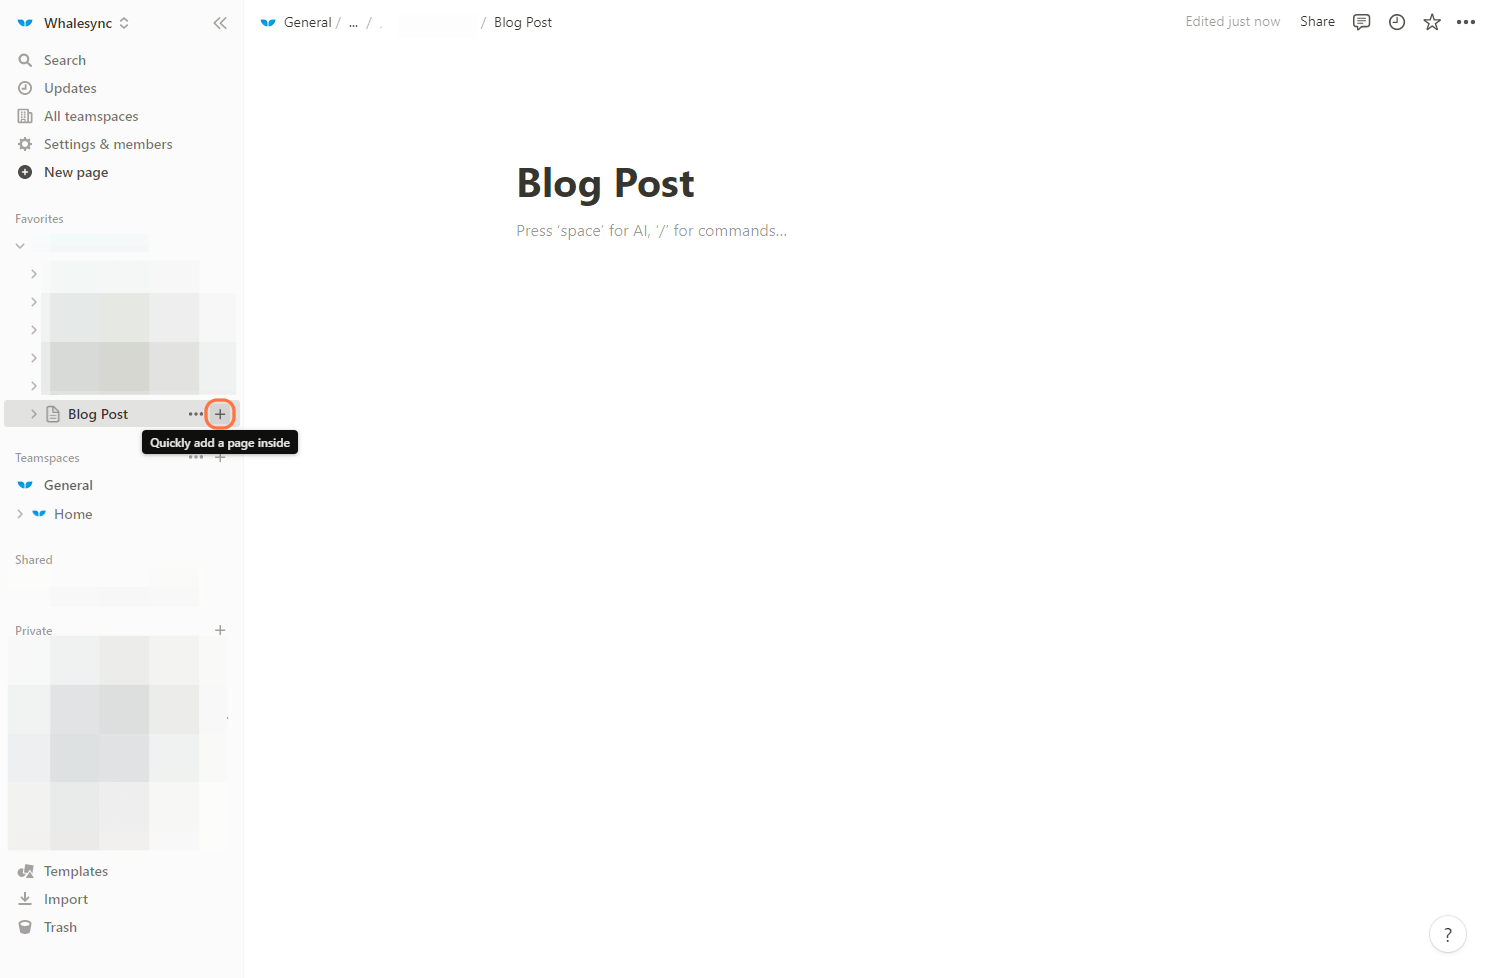
To create a database simply click the ‘+ button beside your chosen Notion Page.
For managing a blog, you’ll want to use a Table (aka Notion database) as it allows for efficient organization and tracking of your posts.

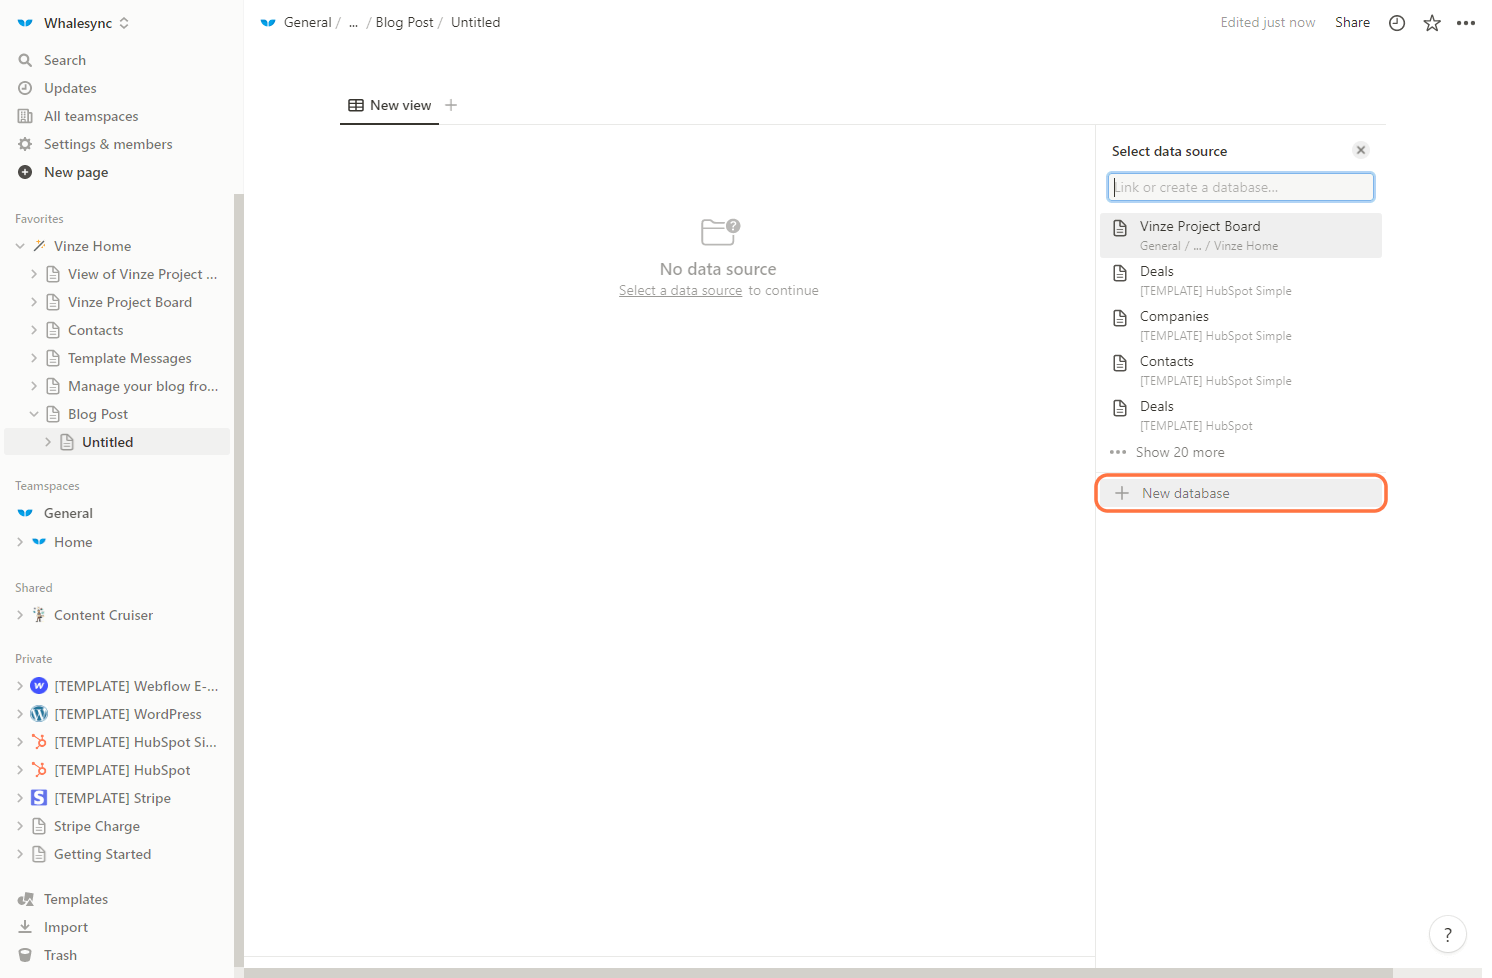
Once prompted, choose ‘add a new database’.
<aside>
💡 If you already have a Notion page, you can simply click the ‘/’ button on your keyboard and choose ‘Table view’.
</aside>
Then you’re all set!
Add fields to database
Once you have created your database, add all the fields that you need such as the Title, and Cover Image.
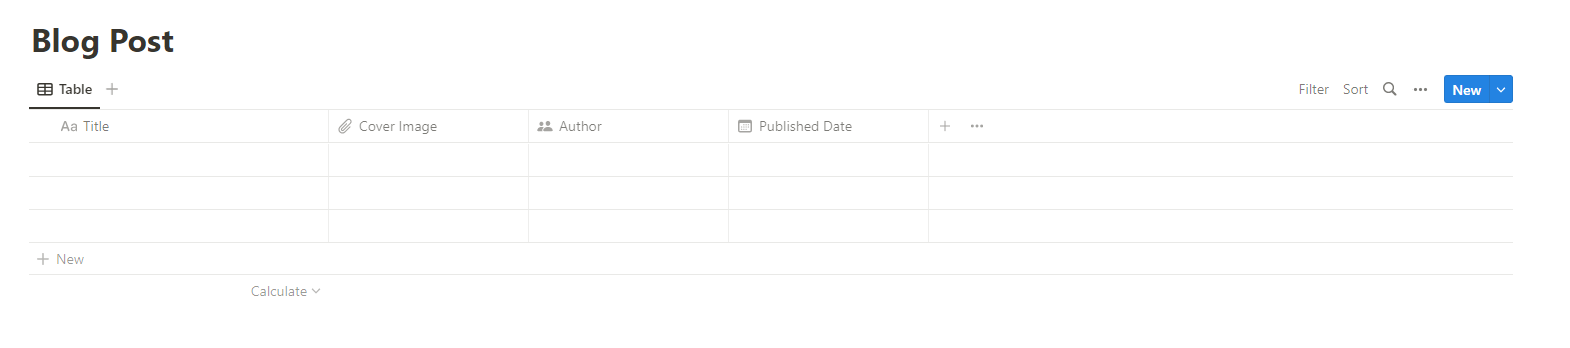
Suggested Fields:
- Title
- Cover Image
- Author
- Published Date
You can also use our Notion Blog Template Pack to quickly get the fields you need:
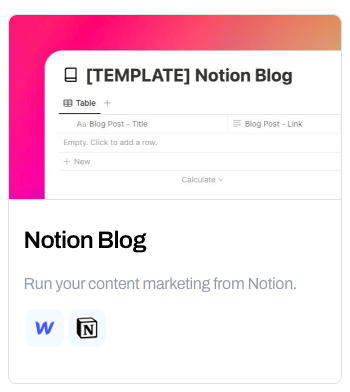
https://www.whalesync.com/template-packs/notion-blog
2. Customize your blog page
Tool Used: Webflow
Webflow lets you create beautiful websites (and blogs) all with no code. By integrating Webflow with Notion, you can manage your content from Notion and then publish to your live site quickly and easily.
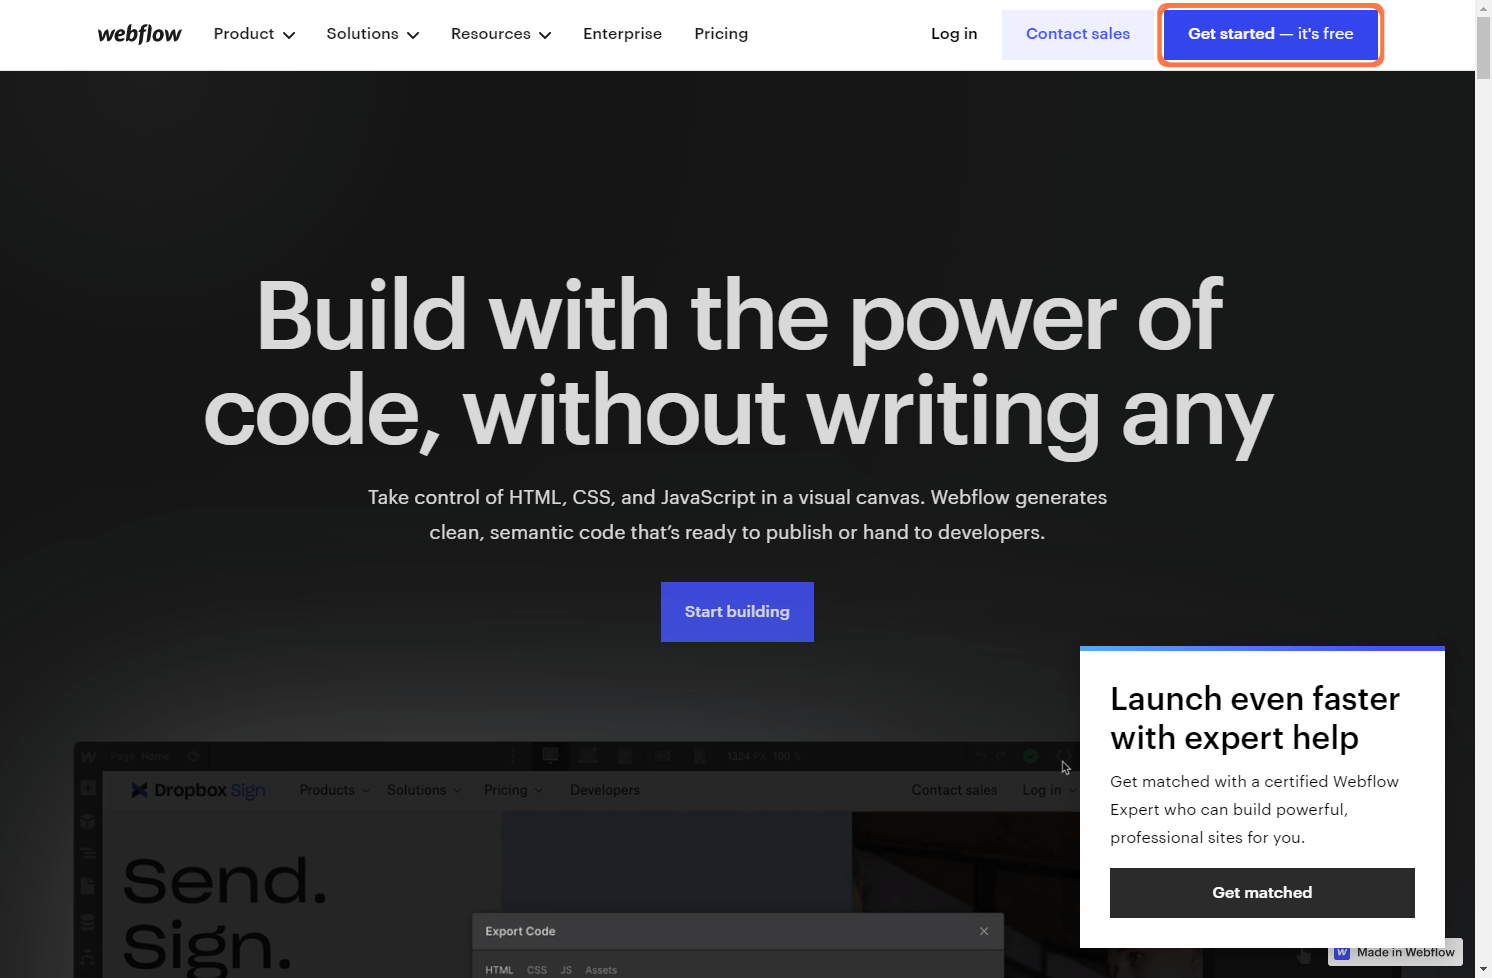
First, sign up for a Webflow account.
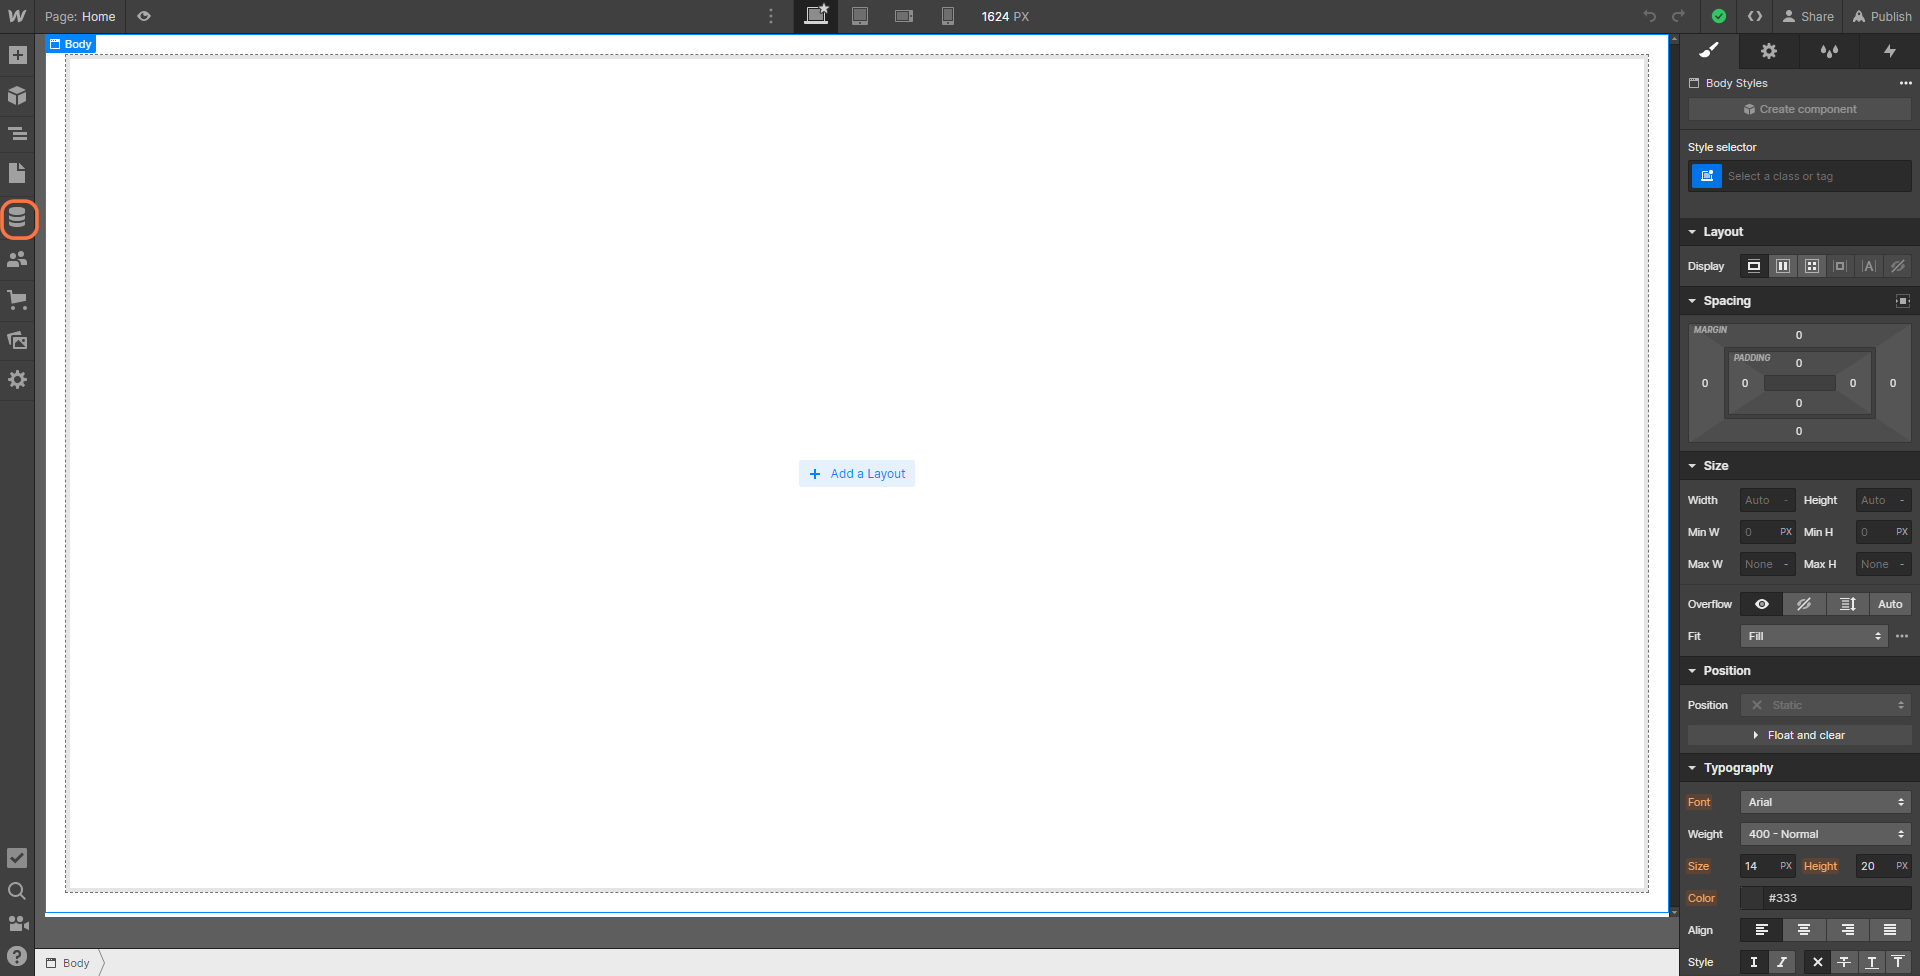
Click on the CMS tab to create a new collection page.
In the Blog Posts collection settings, you’ll need to create all the same fields that are in your Notion Content Database. For example “Cover Image” and “Published Date” might fields you want to add. Make sure to add the "Body Content" field as a rich text field in order for it to sync headers and images from Notion.
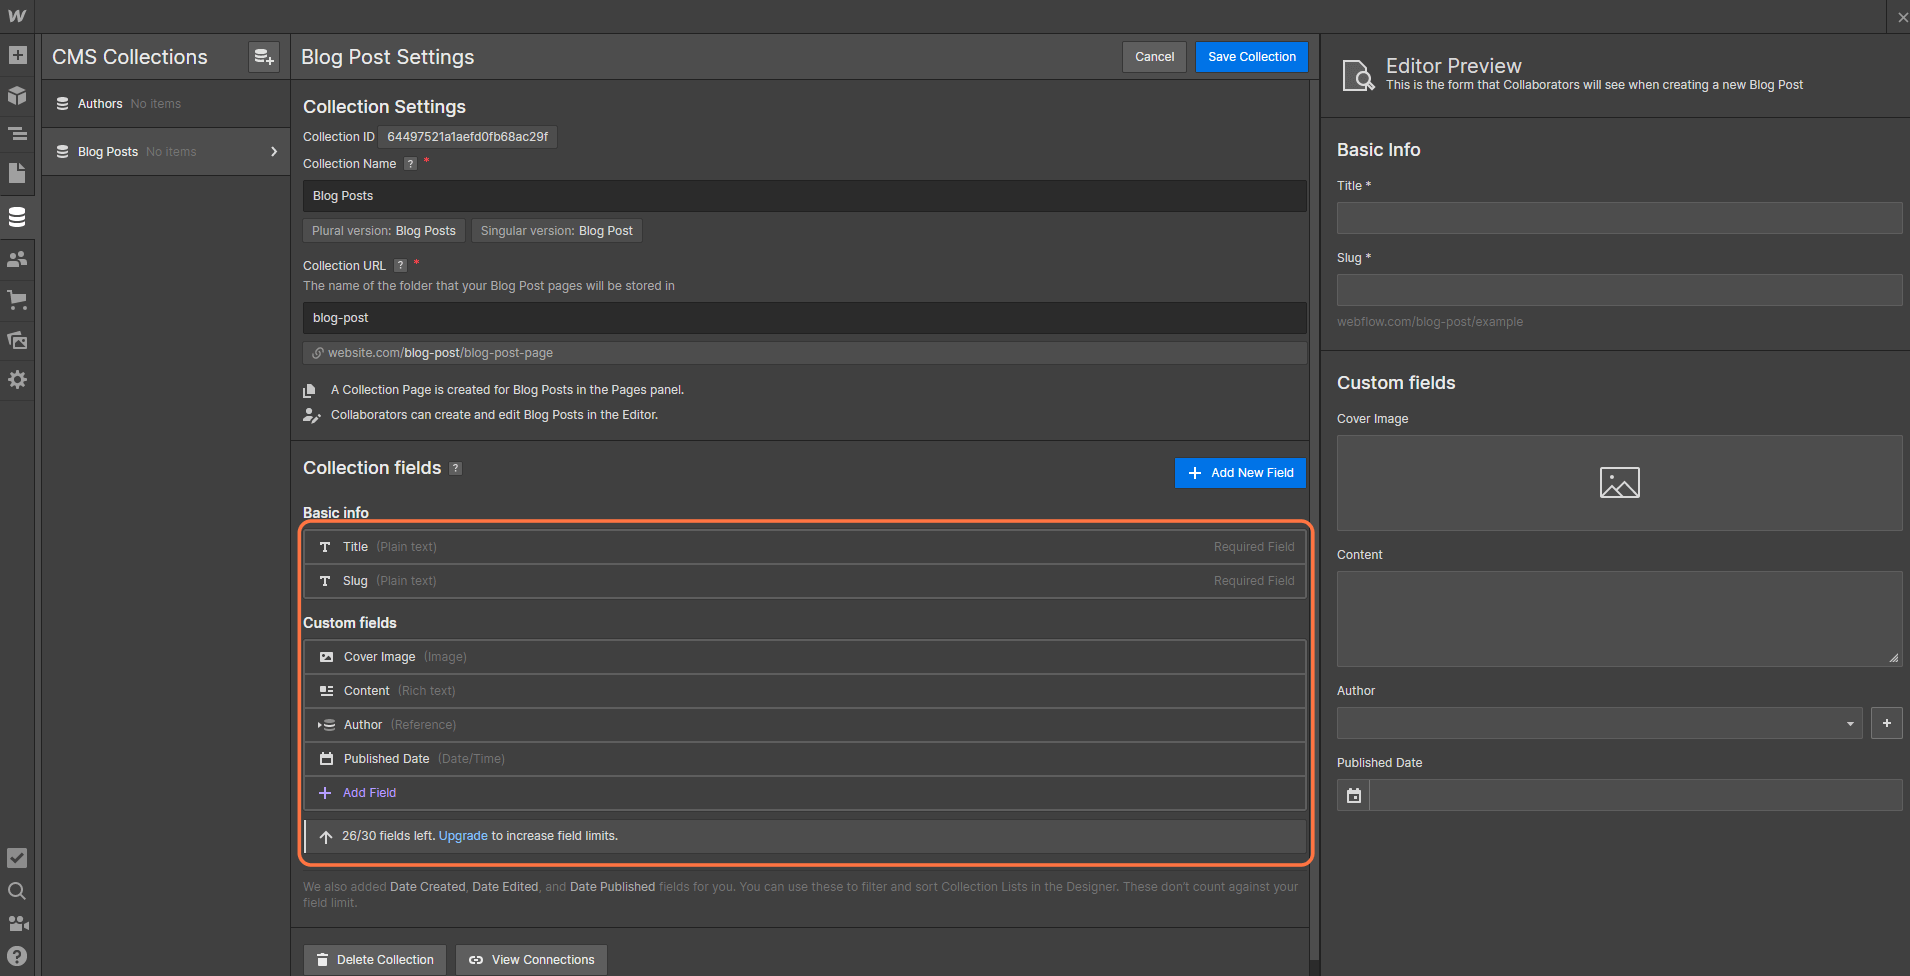
Once all the fields are added you can now customize and design your Webflow page to your liking.
3. Sync your data from Notion to Webflow
Tool: Whalesync
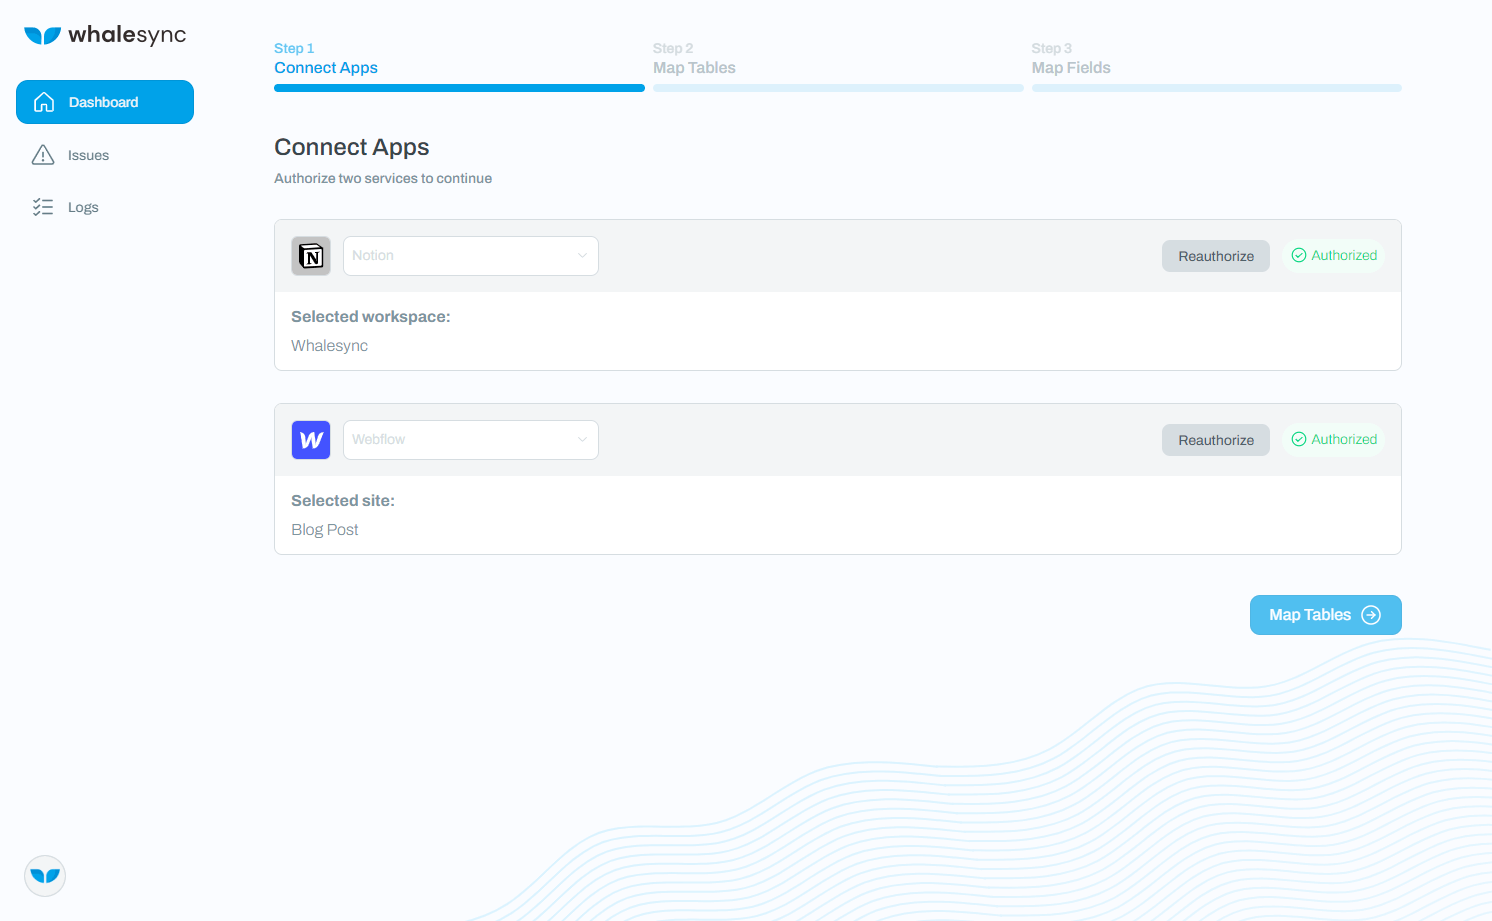
Now that you have a content manager (Notion) and a website (Webflow), Whalesync brings it all together. This is where you will create a continuous sync of all your Notion posts to your Webflow blog.
First, connect Notion and Webflow to Whalesync.
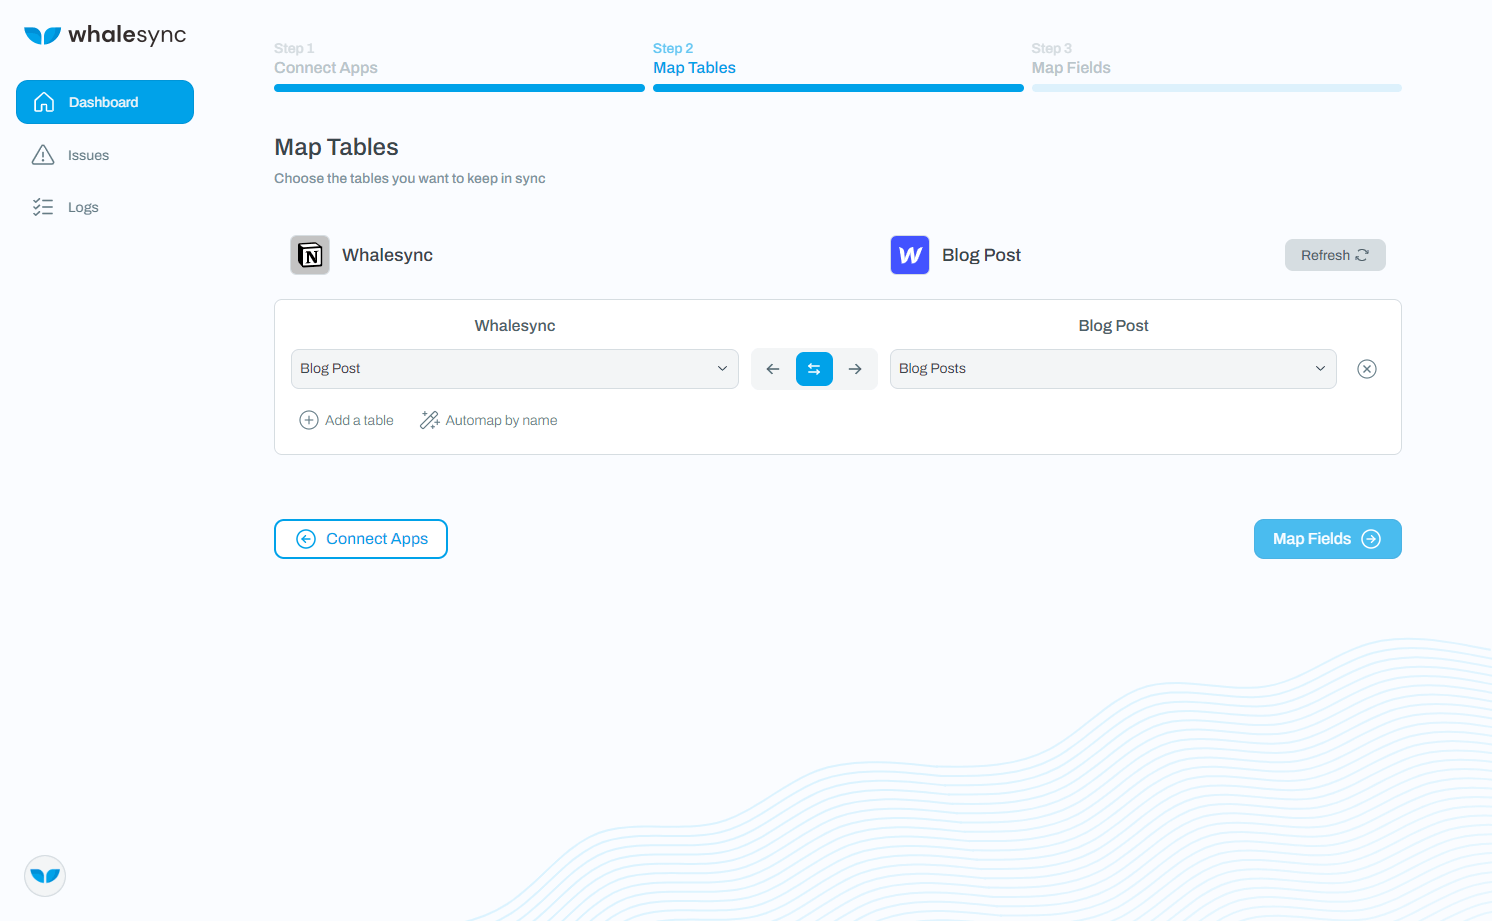
Next, map the Blog Post table in Notion to the Blog Posts table in Webflow.
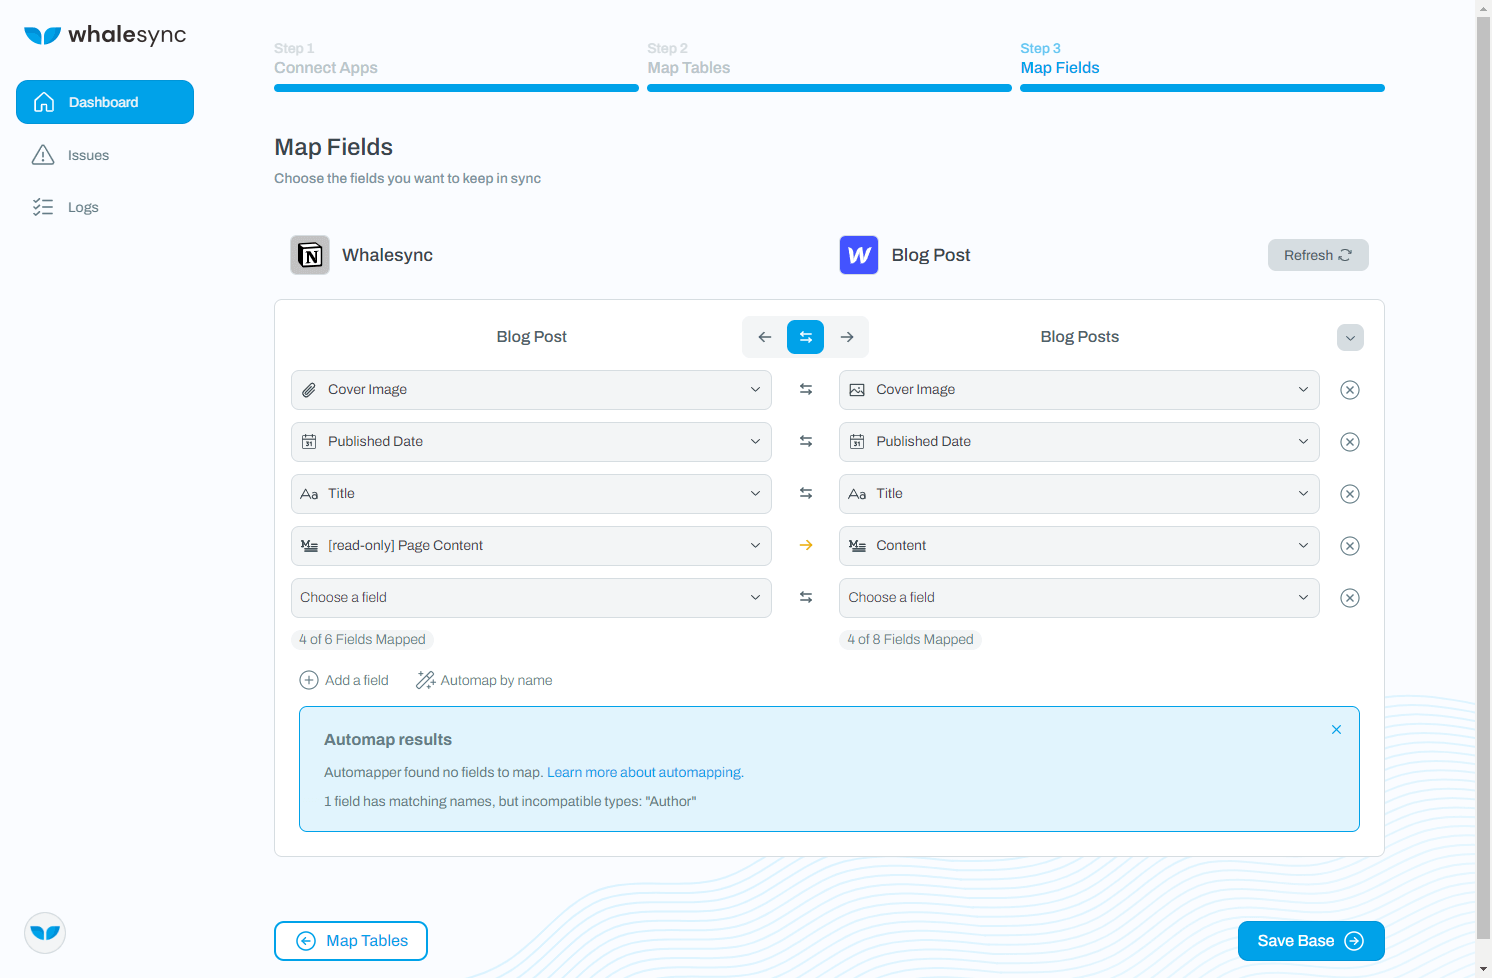
Then map all the fields you just created.
<aside>
💡 Remember: Don’t forget to sync the Page Content field from Notion to the Content or Body field on Webflow
</aside>
And that’s it 🎉! You’ve just built an ultra-powerful content management system. You can now write blog posts in Notion and have them instantly appear on your live Webflow site.
For more advanced features check out our Notion Page Sync docs or our Webflow Status field feature.
Managing your blog from Notion can help you save time and increase productivity. With Notion, you can easily organize your blog posts, collaborate with others, and publish your posts on your Webflow site. Give it a try and see how it can help you manage your blog more efficiently!
Subscribe for more
Stay up to date with the latest no-code data news, strategies, and insights sent straight to your inbox!


.svg)


.svg)

